

Microsoft Excel is a top spreadsheet tool used worldwide. People use it for data entry, reporting, and analytics. A key feature is locking and unlocking cells. This helps protect data integrity in collaborative or sensitive workbooks. In this guide, you’ll learn how to unlock cells in Excel. We’ll provide simple steps, examples, and best practices.
What Are Cells in Excel?
In Excel, a cell is the basic unit where data is stored. It is the intersection of a row and a column, identified by a unique cell reference (like A1, B2, etc.).
Key Characteristics of Cells:
- Hold data: text, numbers, formulas, dates, and more
- Editable or protected depending on the sheet settings
- Customizable with formatting, borders, and validation rules
Cells are the building blocks of every spreadsheet. They are crucial for calculations, data visualization, and user input.
How to Unlock Cells in Excel?
By default, all cells in Excel are locked—but this only takes effect when the worksheet is protected. You can unlock specific cells to allow users to edit them while keeping the rest of the sheet secure.
Step-by-Step: Unlocking Cells in Excel
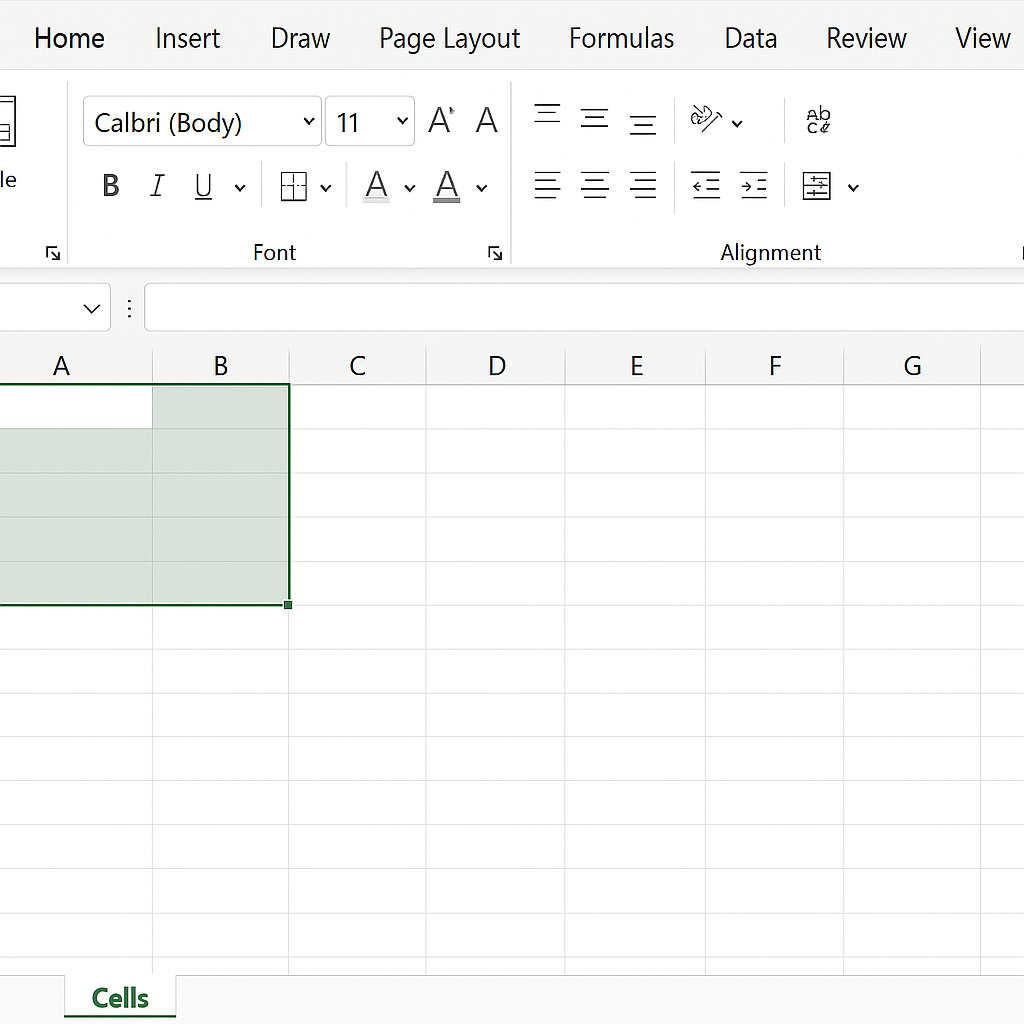
Step 1: Select the Cells You Want to Unlock
- Open your Excel workbook.
- Select the cells or range (e.g., A1:B10) you want users to edit.
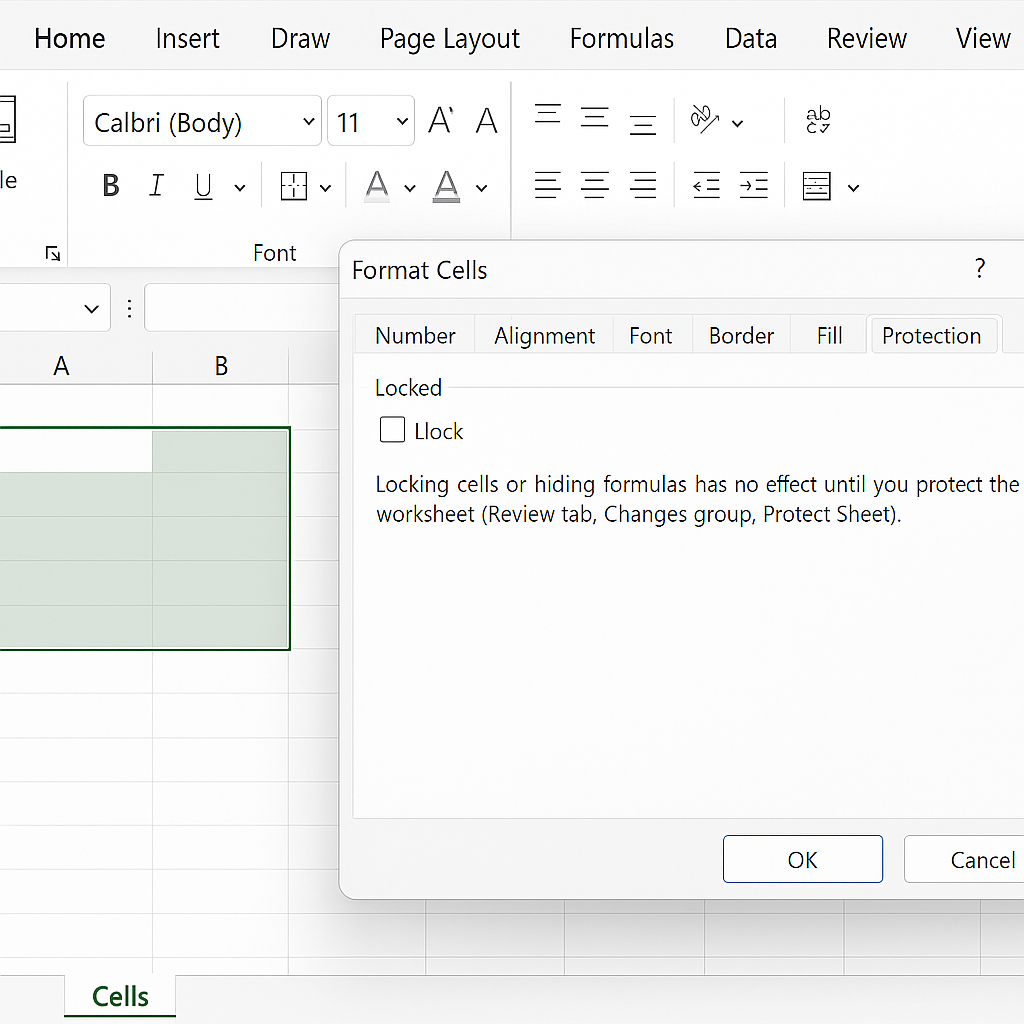
Step 2: Unlock the Selected Cells
- Right-click on the selected cells.
- Click Format Cells.
- Navigate to the Protection tab.
- Uncheck the Locked box.
- Click OK.
Note: This change won’t take effect until the worksheet is protected.
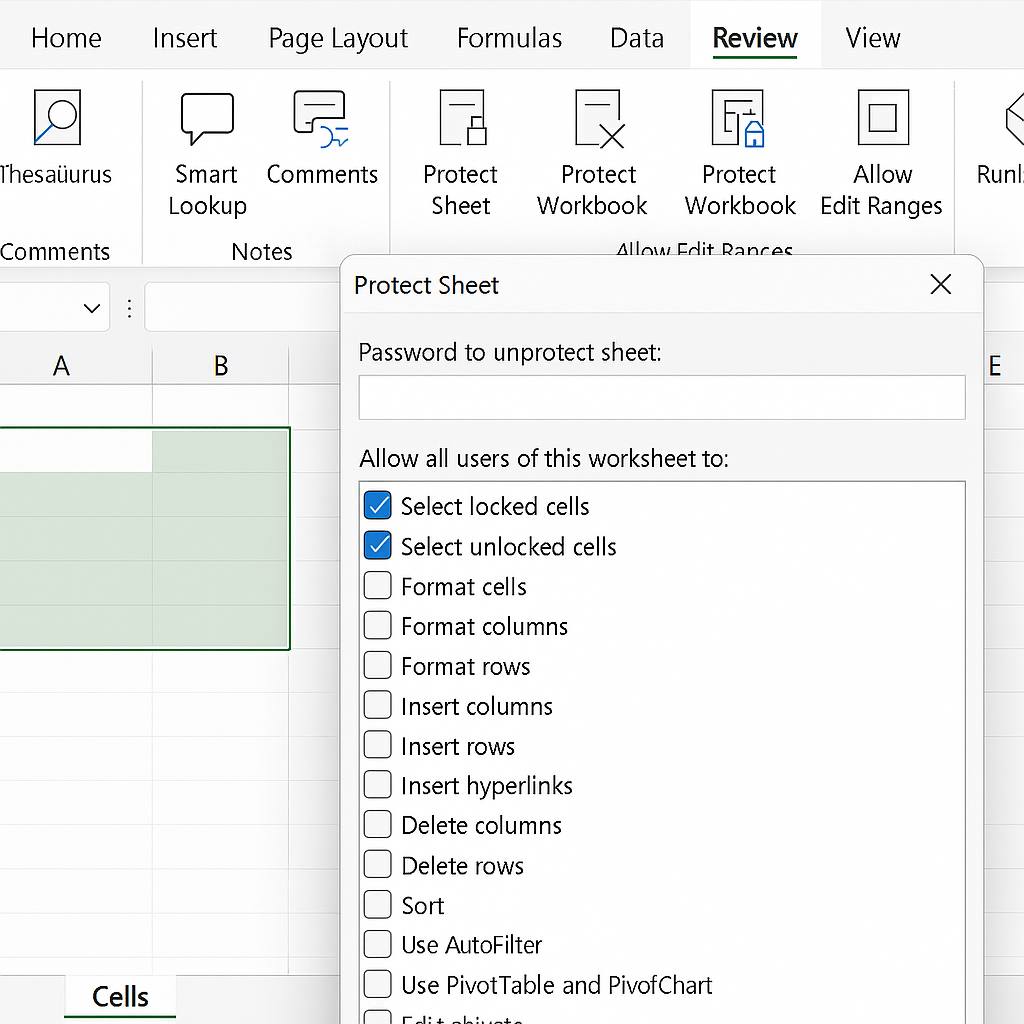
Step 3: Protect the Sheet
- Go to the Review tab on the ribbon.
- Click Protect Sheet.
- Set a password (optional) and choose the actions users can perform.
- Click OK.
Only the unlocked cells are now editable. All other cells remain protected.
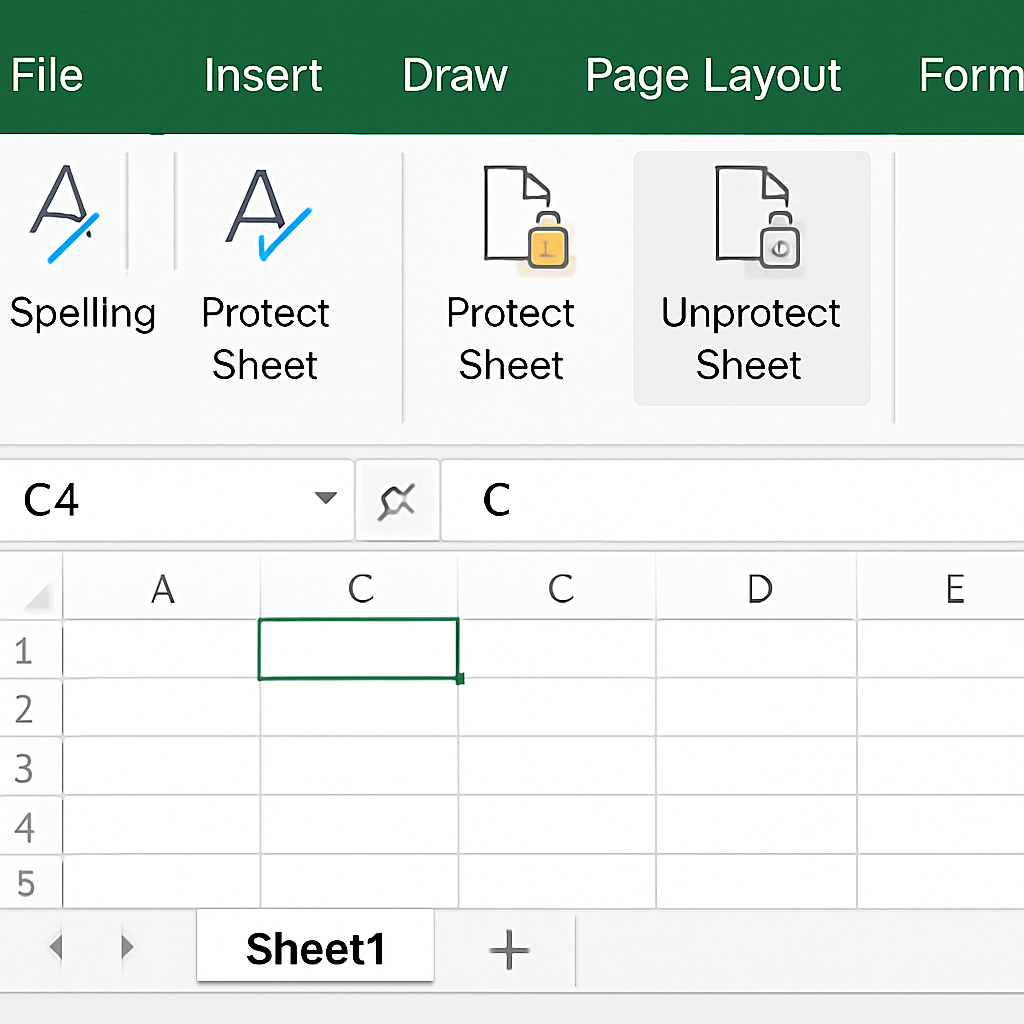
To Remove Protection
- Go to Review > Unprotect Sheet.
- Enter the password if one was set.
Examples of Unlocking Cells in Excel
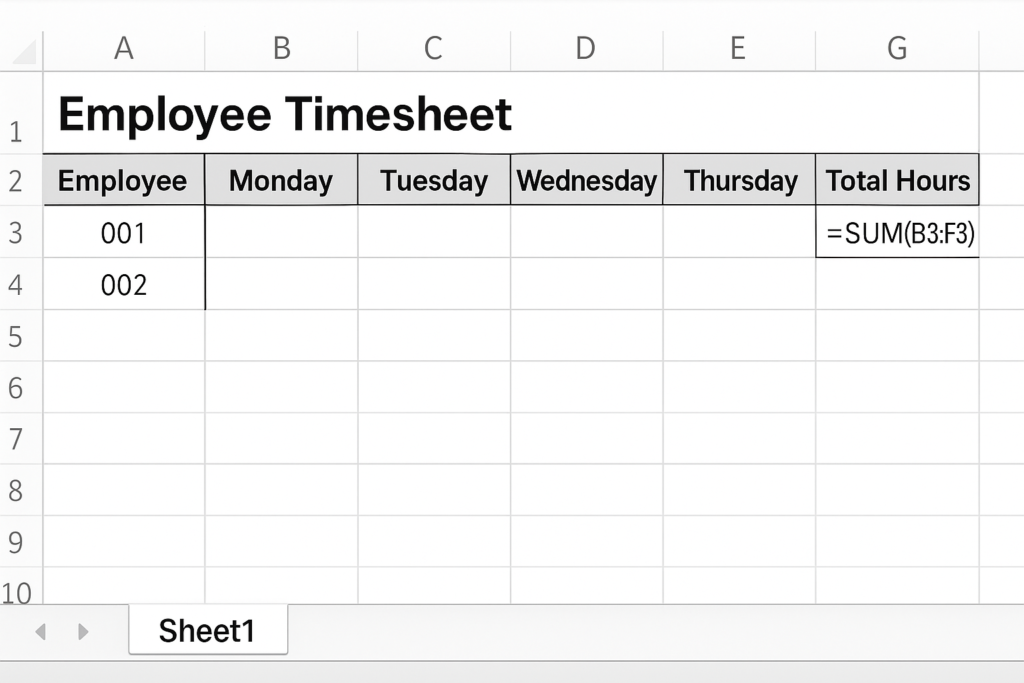
Example 1: Employee Timesheet
You want employees to enter their hours in columns B to F, but not modify the formulas in column G (Total Hours).
- Unlock B2:F100.
- Protect the sheet.
Now, users can enter hours but can’t edit the total calculation.
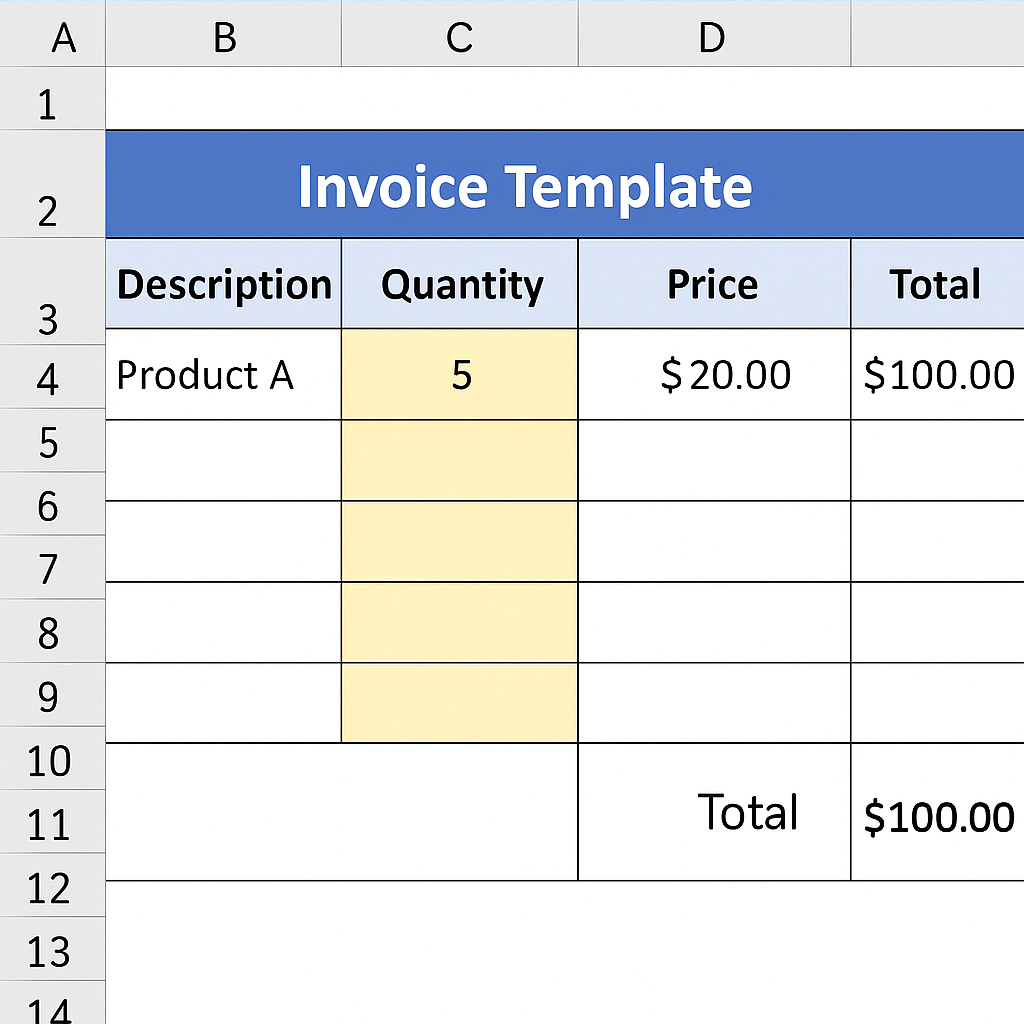
Example 2: Invoice Template
Allow clients to input quantities but prevent changes to price and total cells.
- Unlock quantity cells.
- Protect the sheet.
This ensures your pricing remains intact while allowing custom orders.
Example 3: Shared Budget Sheet
Allow only the team lead to edit budget limits, but team members can enter their expenses.
- Unlock expense entry rows.
- Protect the sheet with a password.
Benefits of Unlocking Cells in Excel
Data Protection with Flexibility
Unlocking specific cells helps you balance data protection with areas for input. Users can contribute without disrupting critical formulas or structures.
Prevents Accidental Changes
Locked cells protect vital content like formulas, headers, and references. Unlocking designated areas ensures users only touch what they’re supposed to.
Ideal for Team Collaboration
Whether it’s budgeting, reporting, or data collection, you can set permissions precisely. Each team member knows their editable section.
Professional Template Control
Custom templates often require input fields while maintaining fixed structures. Unlocking specific cells enhances usability without compromising layout integrity.
Supports Workflow Automation
You can link unlocked cells with data validation, conditional formatting, and macros. This helps create smart, interactive tools in Excel.
Improves Data Accuracy
Directing users to unlocked, pre-formatted cells lowers the risk of errors. It also helps prevent inconsistent inputs and structural problems.
Custom Permissions
Sheet protection options let you control what users can do. You can allow or block actions like selecting locked cells, formatting columns, or inserting rows.
Better Compliance and Documentation
In regulated industries like finance and healthcare, protecting certain parts of a spreadsheet is key. It helps meet audit and compliance rules, but still allows for necessary edits.
FAQ’s
Why are all cells locked by default?
By default, Excel locks all cells. This helps keep your data safe when you turn on sheet protection. Unlocking selected cells gives you controlled flexibility.
Can I unlock multiple non-contiguous cells at once?
Yes. Hold Ctrl and click each cell/range you want to unlock. Then right-click > Format Cells > Protection tab and uncheck “Locked.”
What happens if I unlock cells but don’t protect the sheet?
Nothing changes. Lock/unlock settings only take effect when the sheet is protected via the Review tab.
Can I allow only formatting or sorting in protected sheets?
Yes. When enabling protection, you can check options like “Format cells,” “Sort,” or “Use AutoFilter” to allow specific actions.
Is there a way to unlock cells using VBA?
Yes. You can use the following macro:
Sub UnlockRange() Range(“A1:A10″).Locked = False ActiveSheet.Protect Password:=”1234” End Sub
This unlocks A1:A10 and protects the rest with a password.
Conclusion
Unlocking cells in Excel helps protect important data. It also allows for team collaboration and easy updates. This feature is key for many tasks. You might be managing a shared financial model, building interactive forms, or designing templates. It helps you keep control while still allowing for easy use. By mastering how to unlock cells, you empower users to engage with your spreadsheet safely and efficiently.