
Printing an Excel spreadsheet seems easy. But if you don’t set it up correctly, your printouts can look messy, incomplete, or unprofessional. Printing your spreadsheet right is important. Whether it’s a financial report, inventory sheet, or data chart, it ensures clarity, consistency, and professionalism.
What is a Spreadsheet?
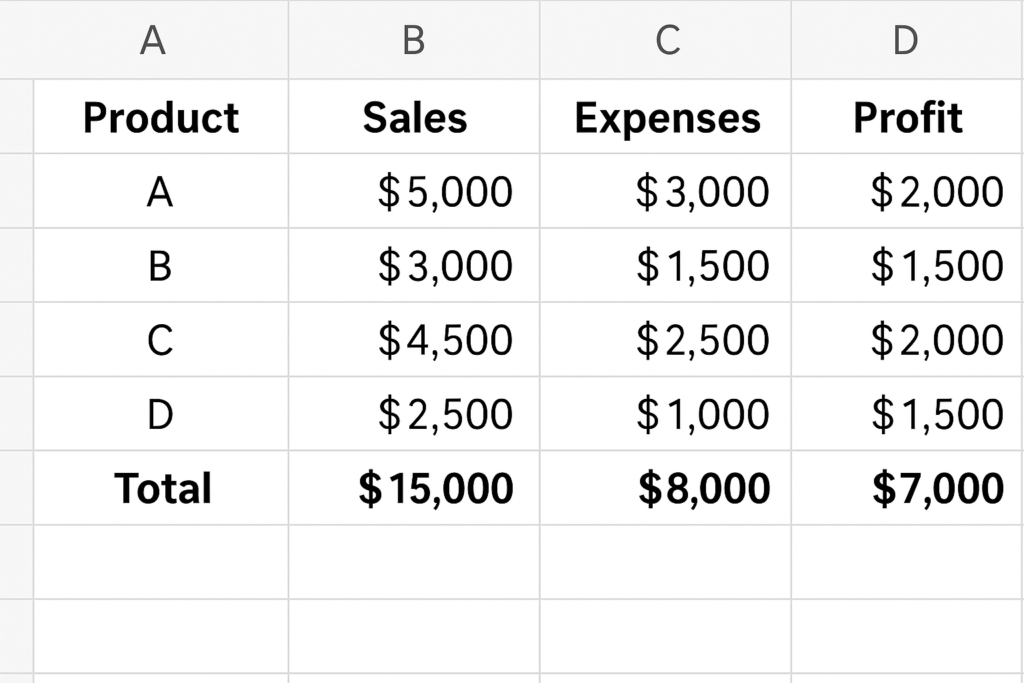
A spreadsheet is a digital worksheet that organizes data in rows and columns. It is primarily used for:
- Data entry and analysis
- Financial modeling
- Inventory management
- Charts and reporting
Microsoft Excel is one of the most widely used spreadsheet tools globally. It lets users do complex calculations. They can also visualize data with charts and keep organized records. However, turning these digital sheets into printable documents requires some essential formatting steps.
How to Print an Excel Spreadsheet (Step-by-Step)
To print an Excel spreadsheet correctly, follow these steps. This will help you avoid cut-off columns, blank pages, and misaligned data:
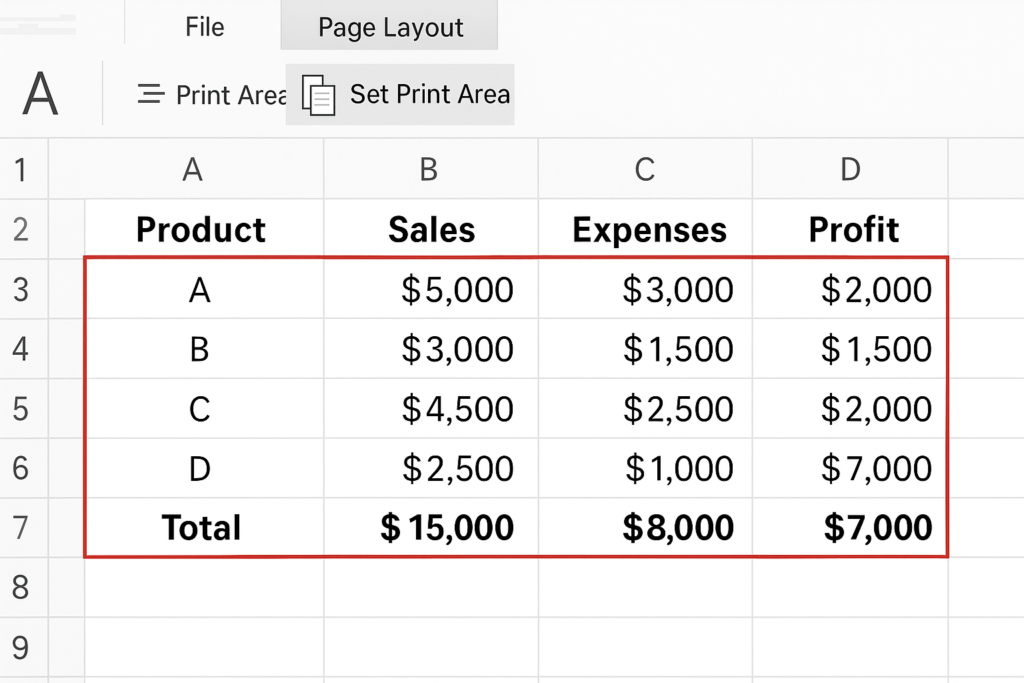
Step 1. Set the Print Area
Only want to print specific parts of your spreadsheet?
- Highlight the cells you want to print.
- Go to the Page Layout tab.
- Click Print Area > Set Print Area.
This ensures that only selected data is printed.
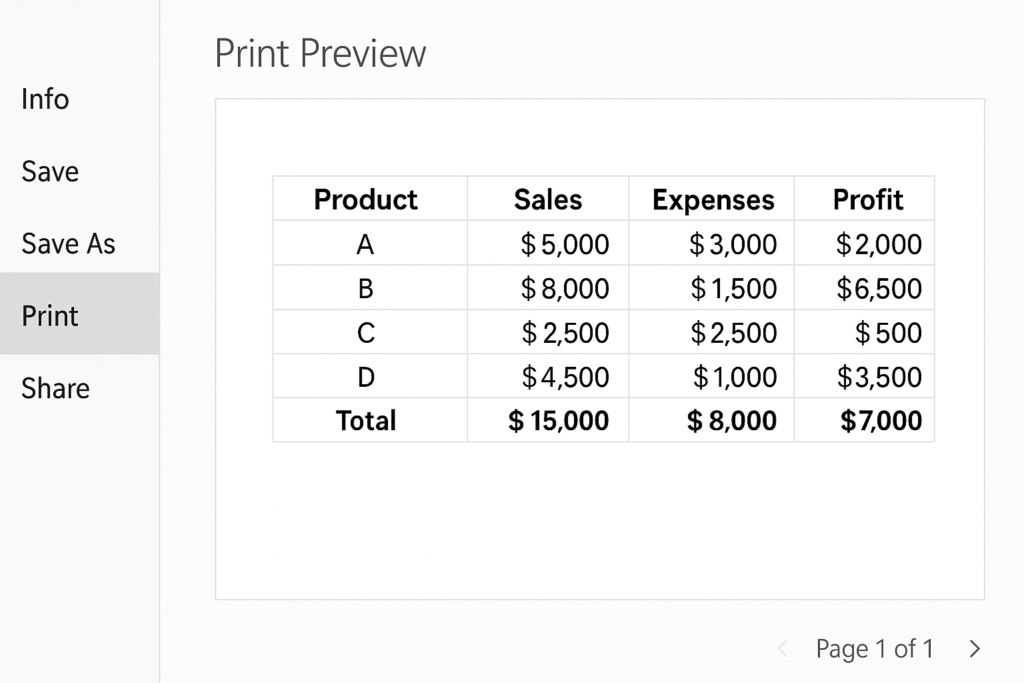
Step 2. Use Print Preview
Before printing, check how your spreadsheet will look:
- Click File > Print.
- The right-hand side shows a live preview.
- Scroll through pages to spot formatting issues.
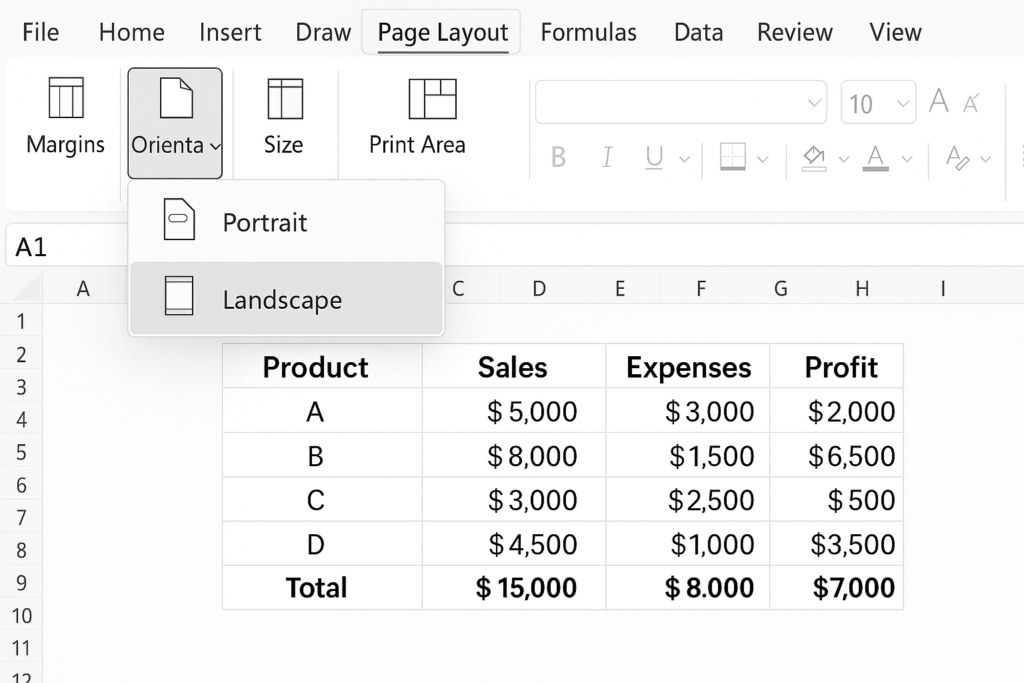
Step 3. Adjust Page Orientation
To print wide tables:
- Go to Page Layout > Orientation.
- Choose between Portrait (vertical) or Landscape (horizontal).
For spreadsheets with many columns, Landscape is often better.
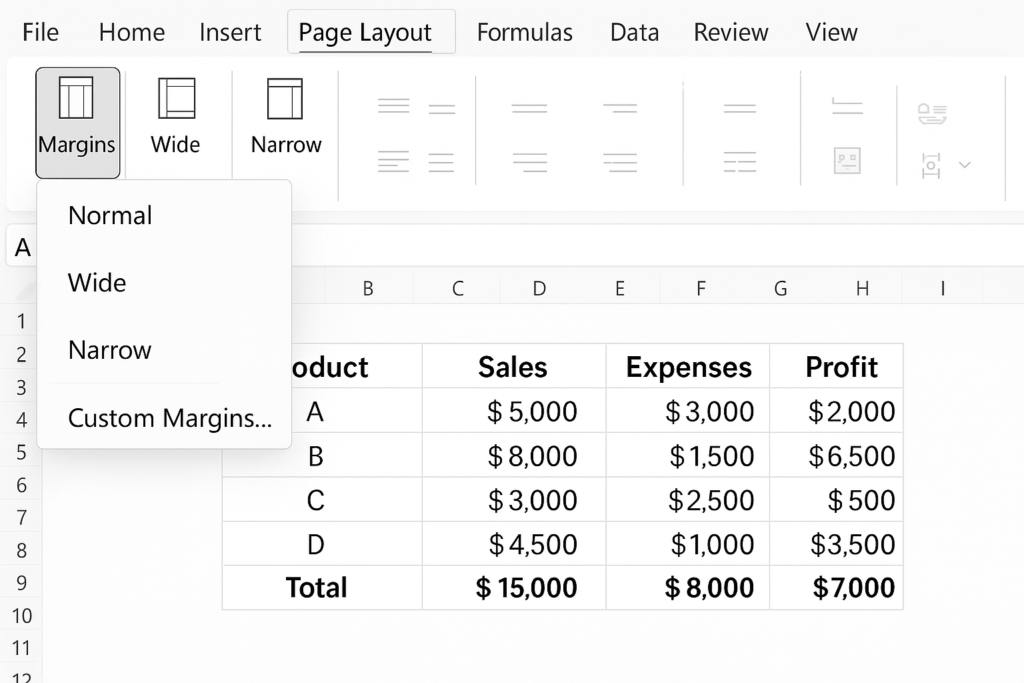
Step 4. Set Margins
To make room for binding or notes:
- Go to Page Layout > Margins.
- Choose Normal, Wide, Narrow, or click Custom Margins.
Margins impact how much data fits on each page.
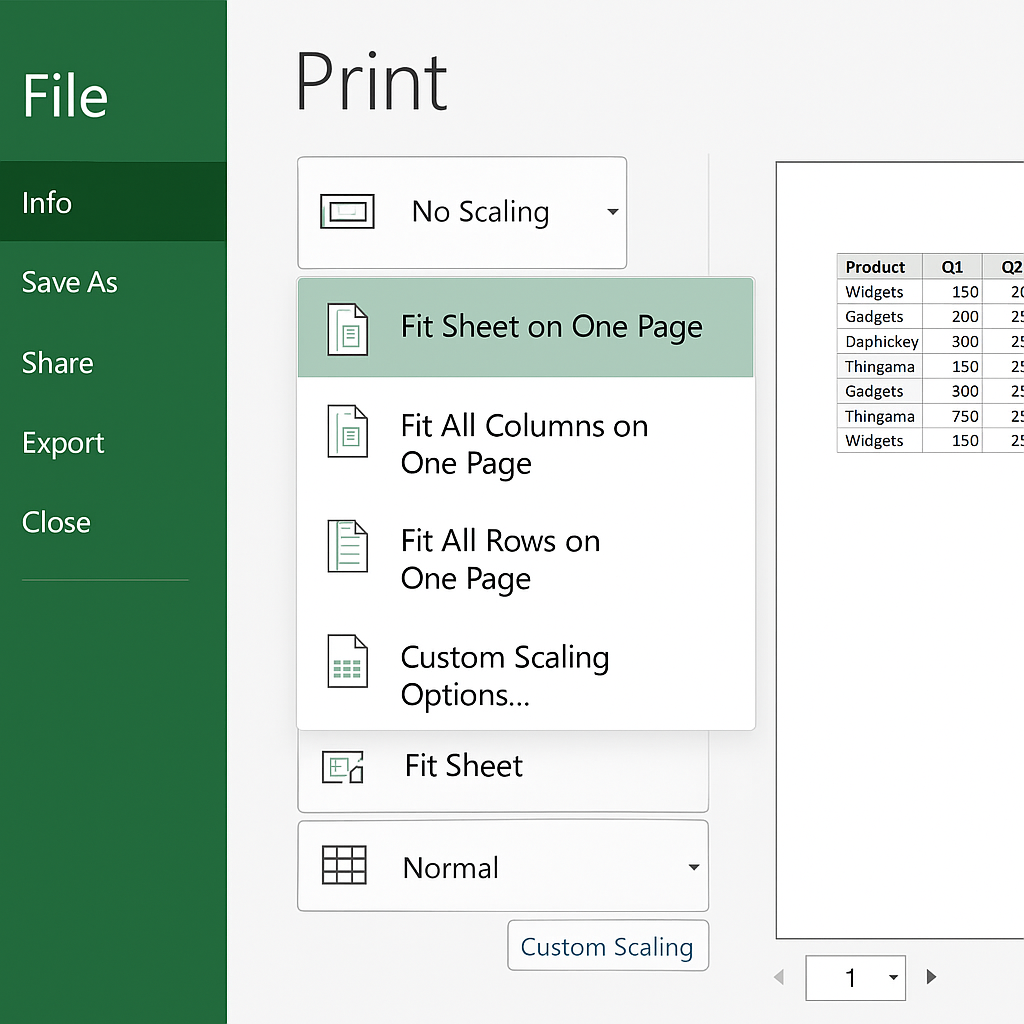
Step 5. Fit Sheet on One Page
Avoid printing extra pages with just one row or column:
- In File > Print, go to Scaling Options.
- Choose:
- Fit Sheet on One Page
- Fit All Columns on One Page
- Fit All Rows on One Page
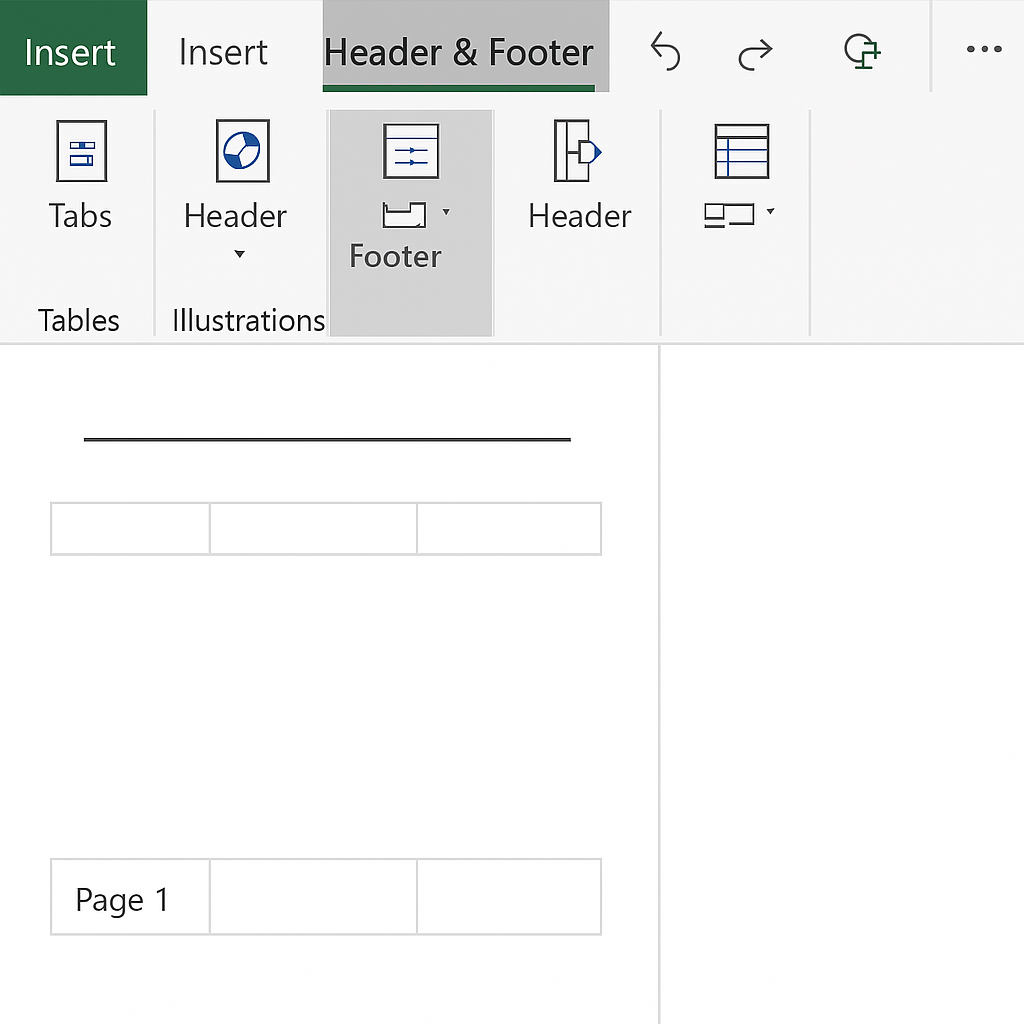
Step 6. Add Headers and Footers
Add information like page numbers or document title:
- Go to Insert > Header & Footer.
- Customize left, center, or right areas.
- You can include date, file name, or company logo.
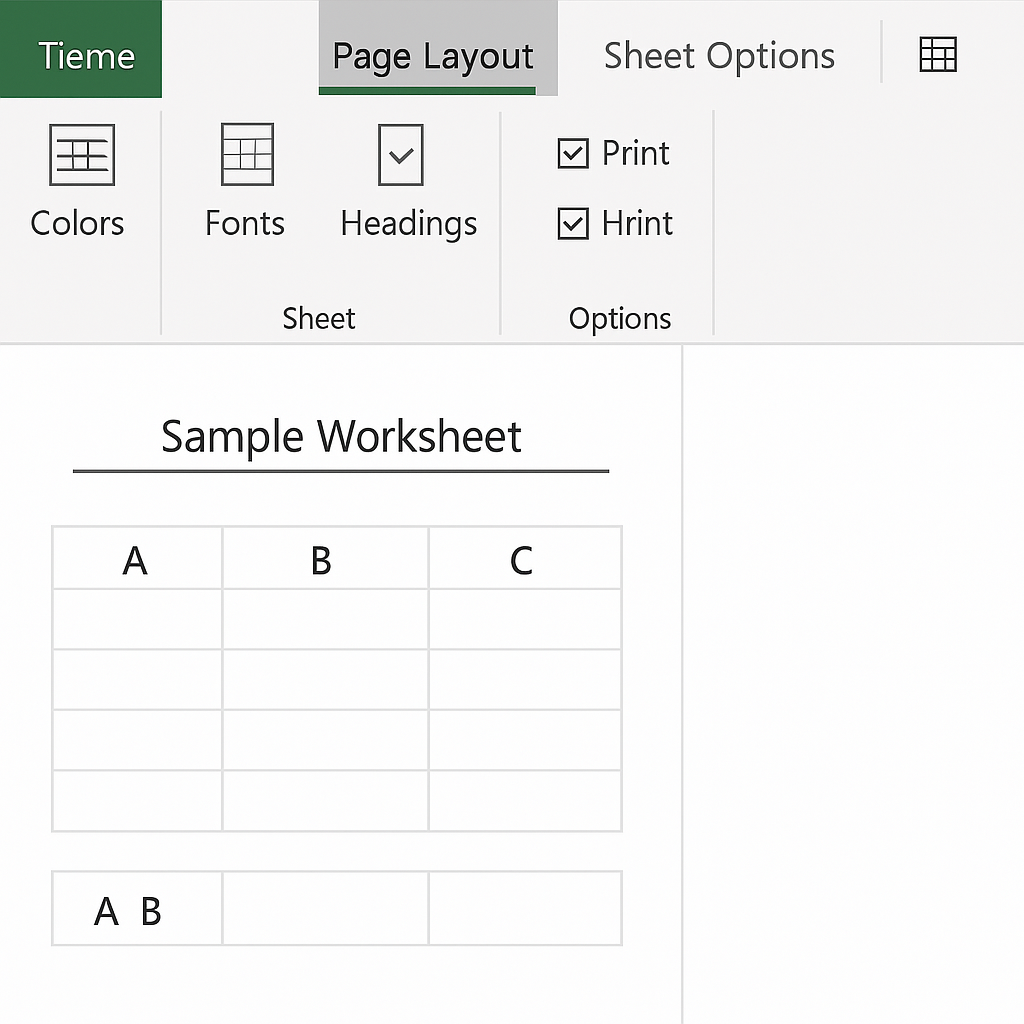
Step 7. Gridlines and Row/Column Headings
To make printouts easier to read:
- Go to Page Layout > Sheet Options.
- Check Print under Gridlines and Headings.
This adds visible lines and row numbers.
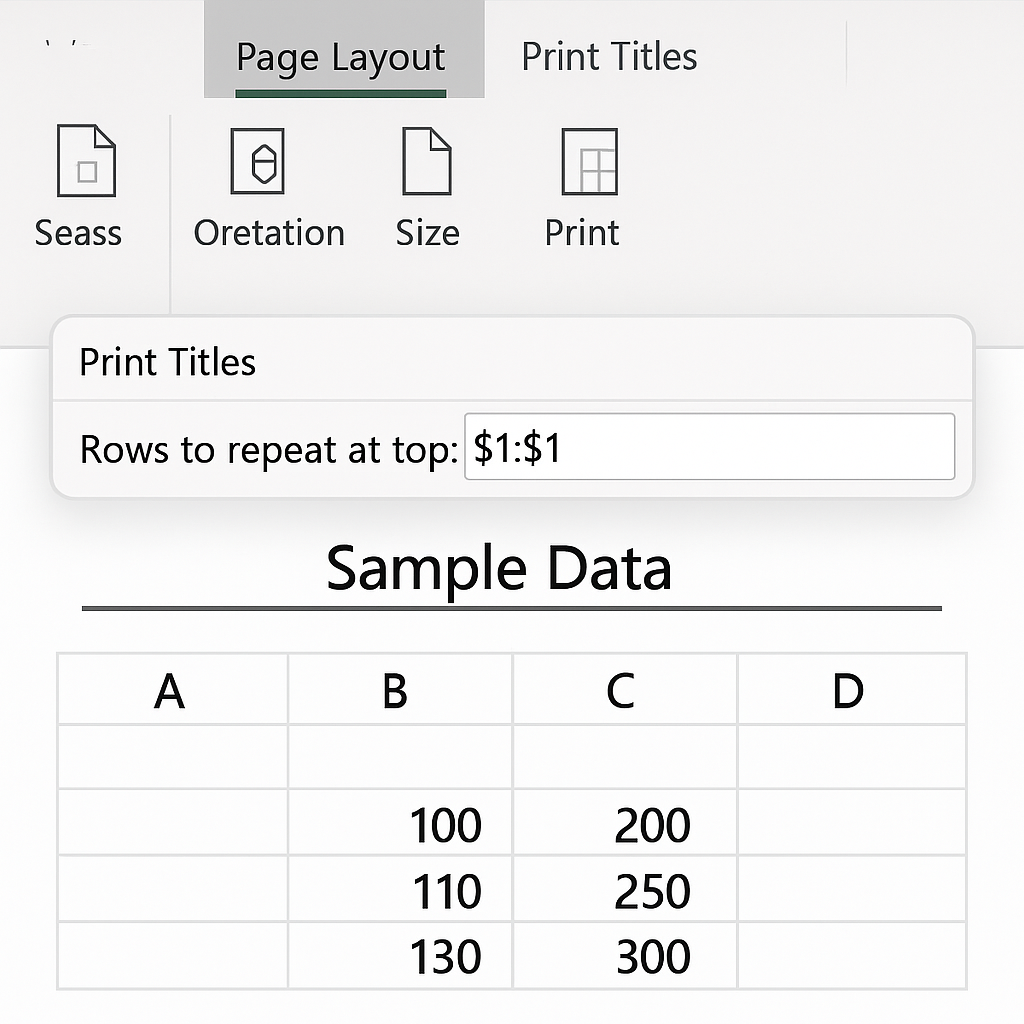
Step 8. Print Titles on Every Page
To repeat header rows on each printed page:
- Go to Page Layout > Print Titles.
- Under Rows to repeat at top, select the row with headers.
This helps readers understand what each column means across multiple pages.
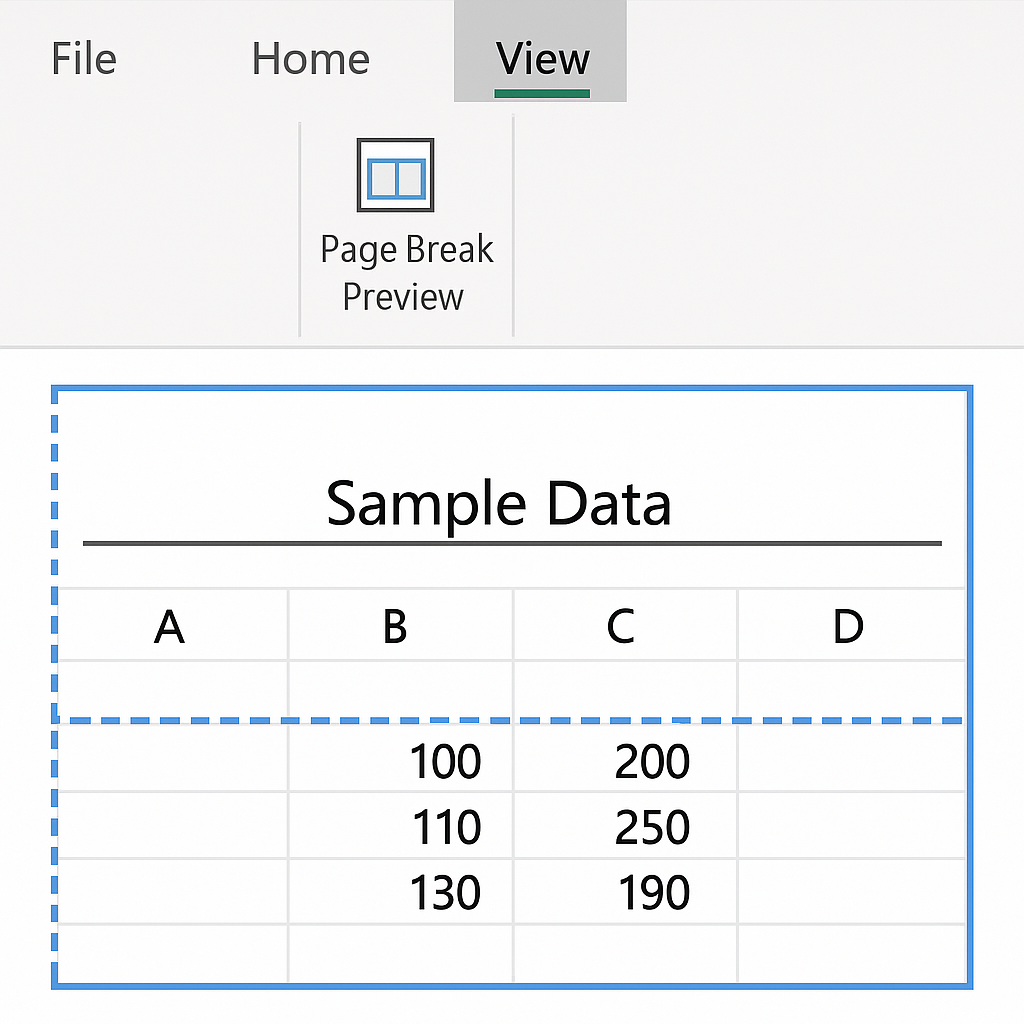
Step 9. Check Page Breaks
Avoid breaking tables mid-way:
- Go to View > Page Break Preview.
- Drag blue lines to adjust where page breaks occur.
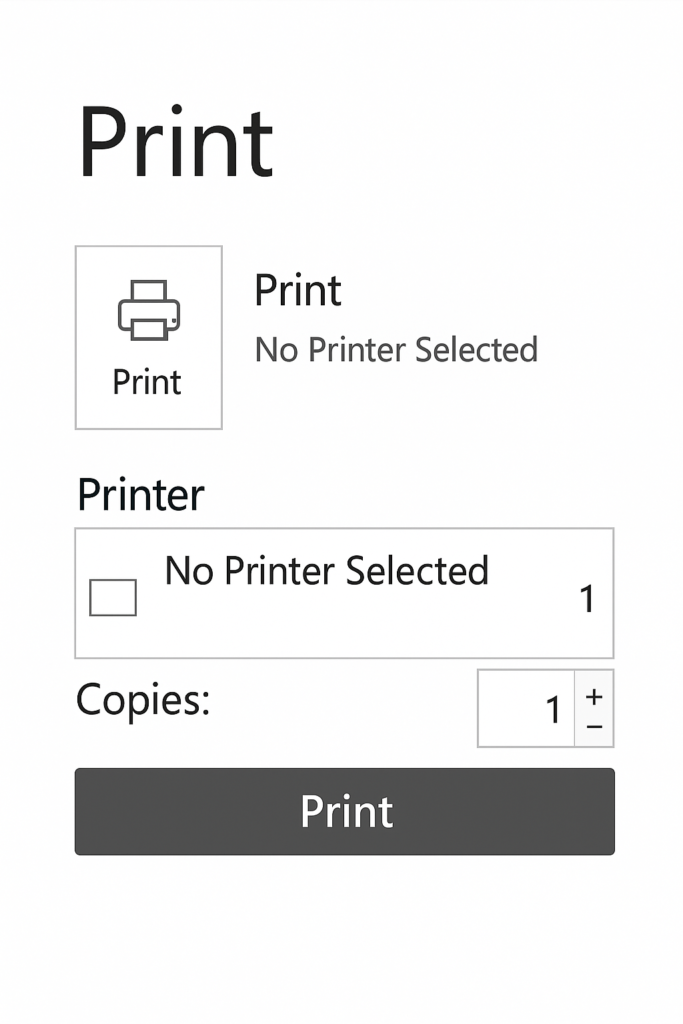
Step 10. Print
Once settings are correct:
- Click File > Print.
- Choose the printer and number of copies.
- Click Print.
Real-World Examples
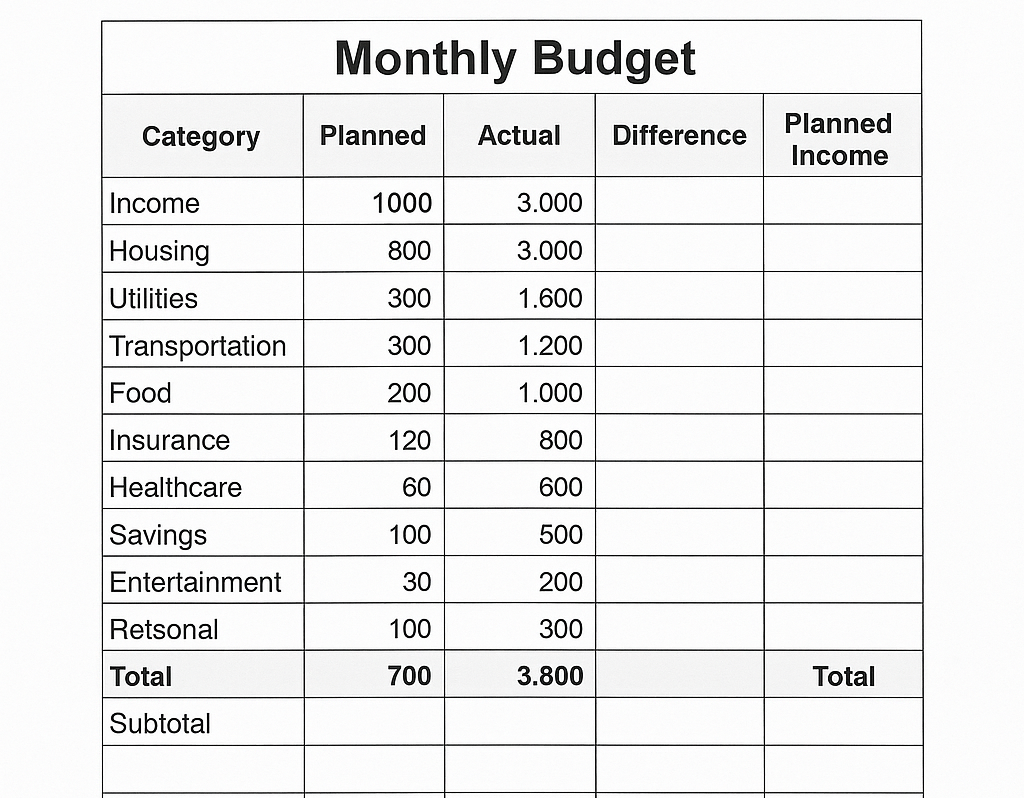
Example 1: Printing a Monthly Budget
- Orientation: Portrait
- Print Area: A1:F30
- Headers: Repeat Row 1
- Scaling: Fit All Columns on One Page
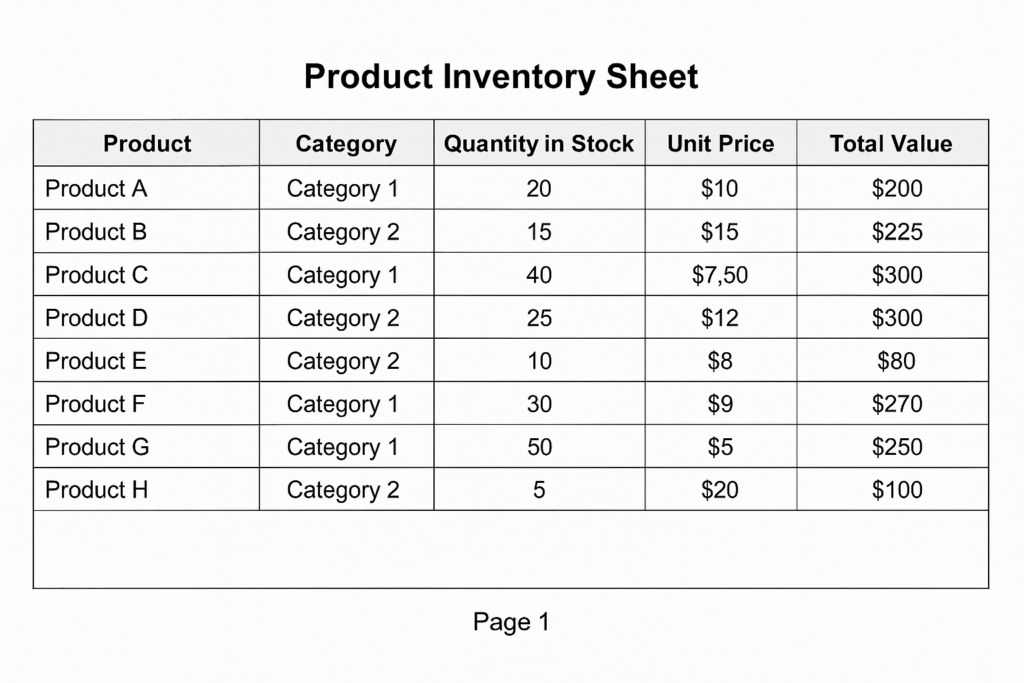
Example 2: Printing a Product Inventory Sheet
- Orientation: Landscape
- Gridlines: Enabled
- Footer: Page Numbers
- Custom Margins: For company stamp
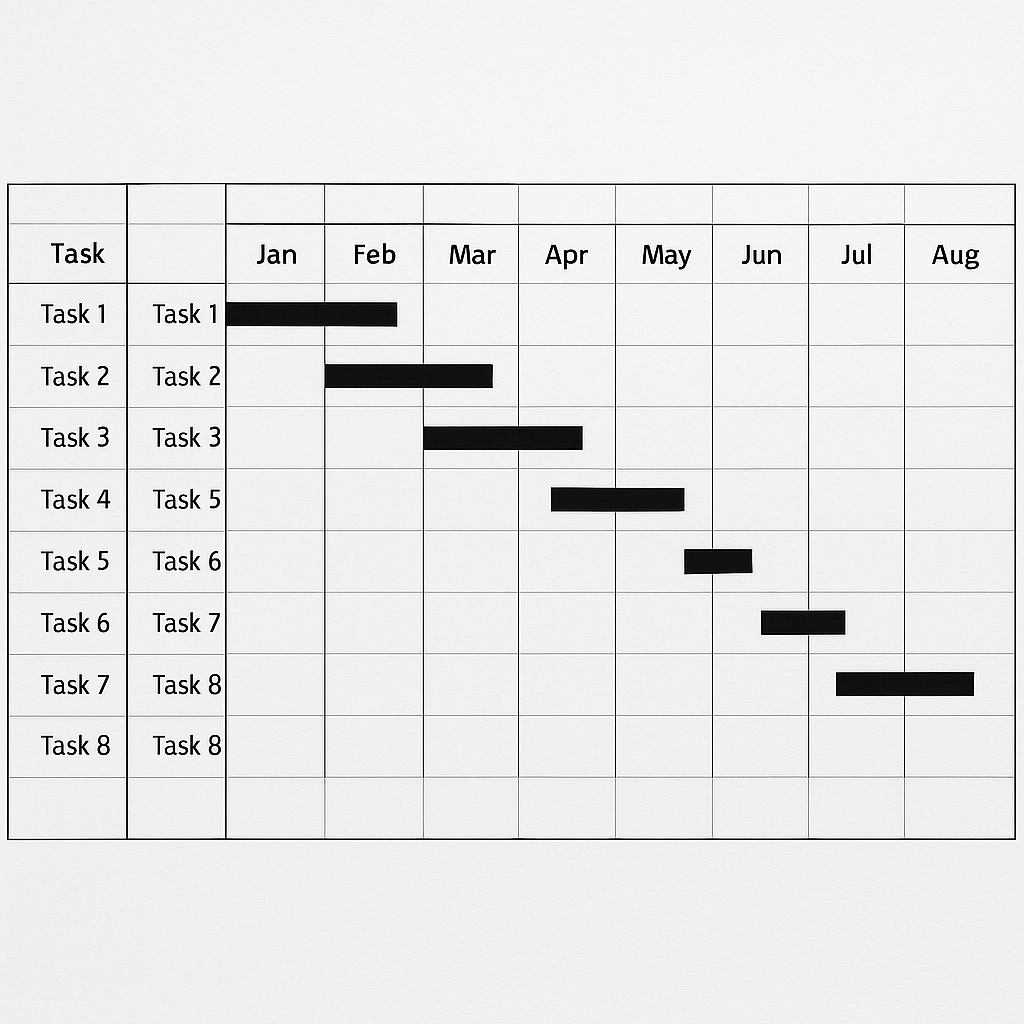
Example 3: Printing a Gantt Chart for Project Timeline
- Scaling: Fit Sheet on One Page
- Landscape mode
- Print area limited to the chart section only
Benefits of Printing Excel Spreadsheets Properly
Professional Presentation
A well-printed spreadsheet improves perception in meetings, reports, or presentations. Neat formatting, aligned columns, and proper headings ensure it looks clean and understandable.
Reduces Paper Waste
Adjusting the scaling and print area cuts down on extra page prints. This saves paper, ink, and money.
Better Readability
Gridlines, page breaks, and headers improve readability, especially for large datasets. They help readers follow the data logically.
Improved Collaboration
Printed sheets with row and column headings are easier to discuss in team environments. Team members can reference specific cells clearly.
Customization
You can customize printouts with headers, footers, and logos. This helps with branding, legal compliance, and document tracking.
Supports Record Keeping
Hard copies of critical financial or inventory data act as a backup in case of digital data loss or audits.
Frequently Asked Questions (FAQ’s)
How do I print an Excel spreadsheet without it getting cut off?
Use the “Fit All Columns on One Page” option under File > Print > Scaling to ensure no columns are cut off.
Can I print only selected cells?
Yes. Select the cells, go to Page Layout > Print Area > Set Print Area.
How do I print with gridlines?
Enable Gridlines in the Page Layout tab under Sheet Options, and check the box for “Print”.
How can I add page numbers?
Use Insert > Header & Footer, then select the page number icon in the footer or header area.
Why does Excel print blank pages sometimes?
Blank pages may be printed due to:
- Extra formatting in empty cells
- Improper page breaks
- Unused print area settings
Use Page Break Preview to check and fix this.
Conclusion
Printing an Excel spreadsheet seems easy, but doing it correctly matters a lot. To make your documents clear and professional, use proper formatting. Set print areas, adjust scaling, and add titles. This way, they’re also ready for sharing or archiving. This guide is based on real-world experience. It offers clear examples and practical tips. It’s a valuable tool for anyone who uses spreadsheets. This includes people in business, finance, education, or project management.