

In Microsoft Excel, clean formatting matters as much as accurate data. Row height is an important formatting element. It makes your spreadsheet readable, organized, and visually appealing. Changing row height in Excel is important for your workflow. It helps with wrapped text, images, and large font sizes. Knowing this skill can make a big difference.
In this tutorial, you’ll discover:
- What row height is
- How to change it in Excel
- Real-life examples
- Benefits of adjusting row height
- Common questions
- Practical tips
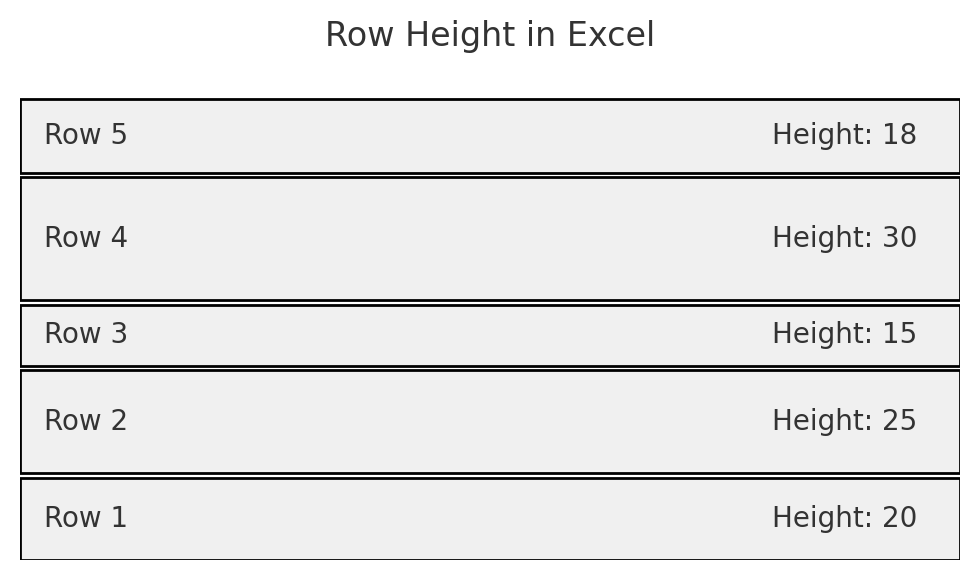
What is Row Height in Excel?
Row height in Excel determines how tall a row appears in your spreadsheet. It’s measured in points — with 1 point = 1/72 inch. The default row height is usually 15 points. However, Excel changes it automatically based on the content. This happens when “Wrap Text” is on or when a larger font is used.
Key Characteristics:
- Directly affects visibility of data within cells.
- Crucial for spreadsheets containing images, large fonts, or wrapped text.
- Can be adjusted manually or automatically.
Adjusting row height keeps your data clear and easy to read. It also helps with printing your Excel sheets without issues.
How to Change Row Height in Excel?
There are multiple ways to change row height in Excel, depending on your formatting goals. Below are the most effective methods:
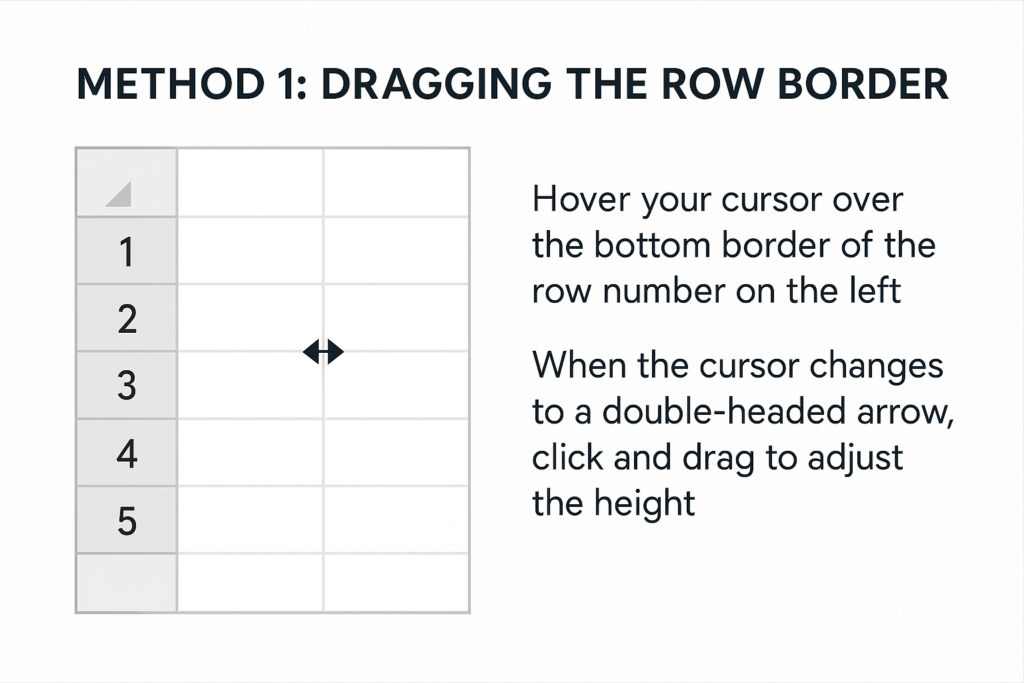
Method 1: Dragging the Row Border
Quickest method for one or multiple rows.
- Hover your cursor over the bottom border of the row number on the left.
- When the cursor changes to a double-headed arrow, click and drag to adjust the height.
- Release when the height looks right.
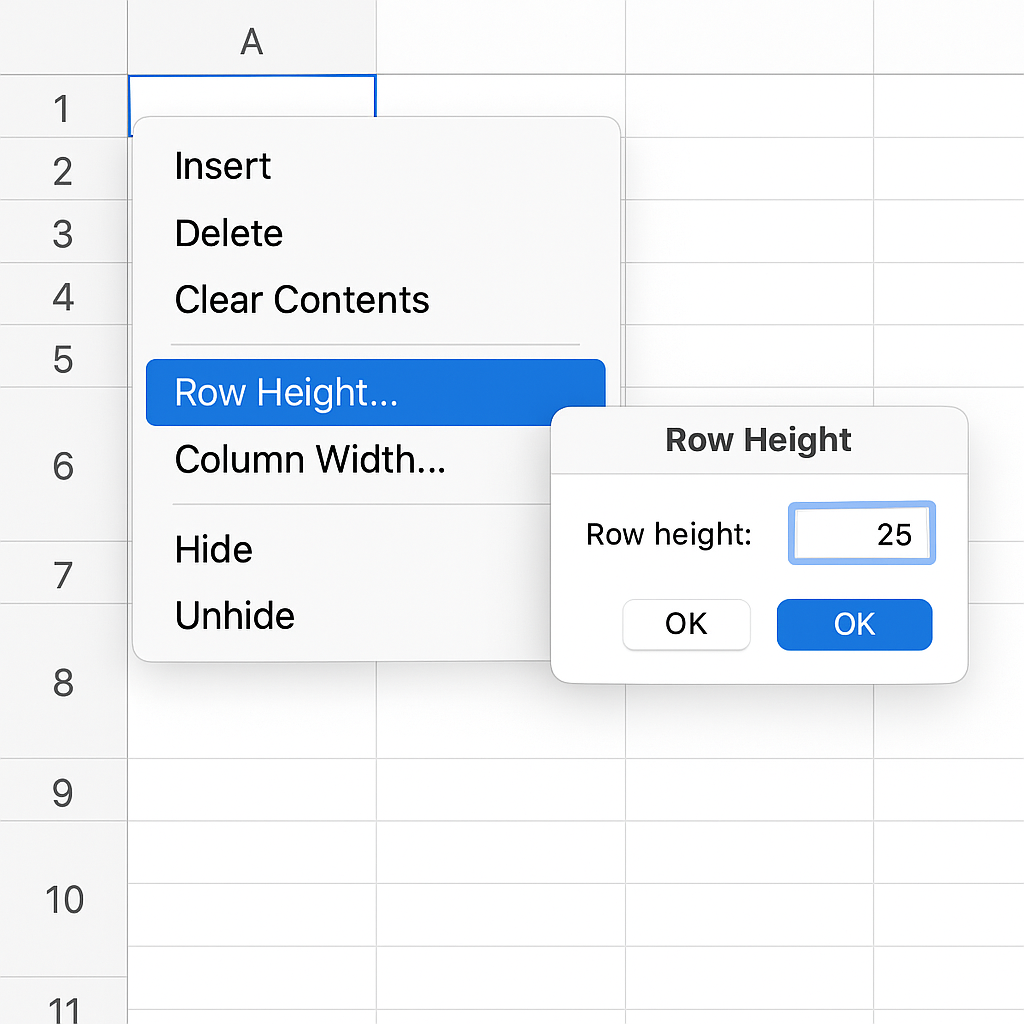
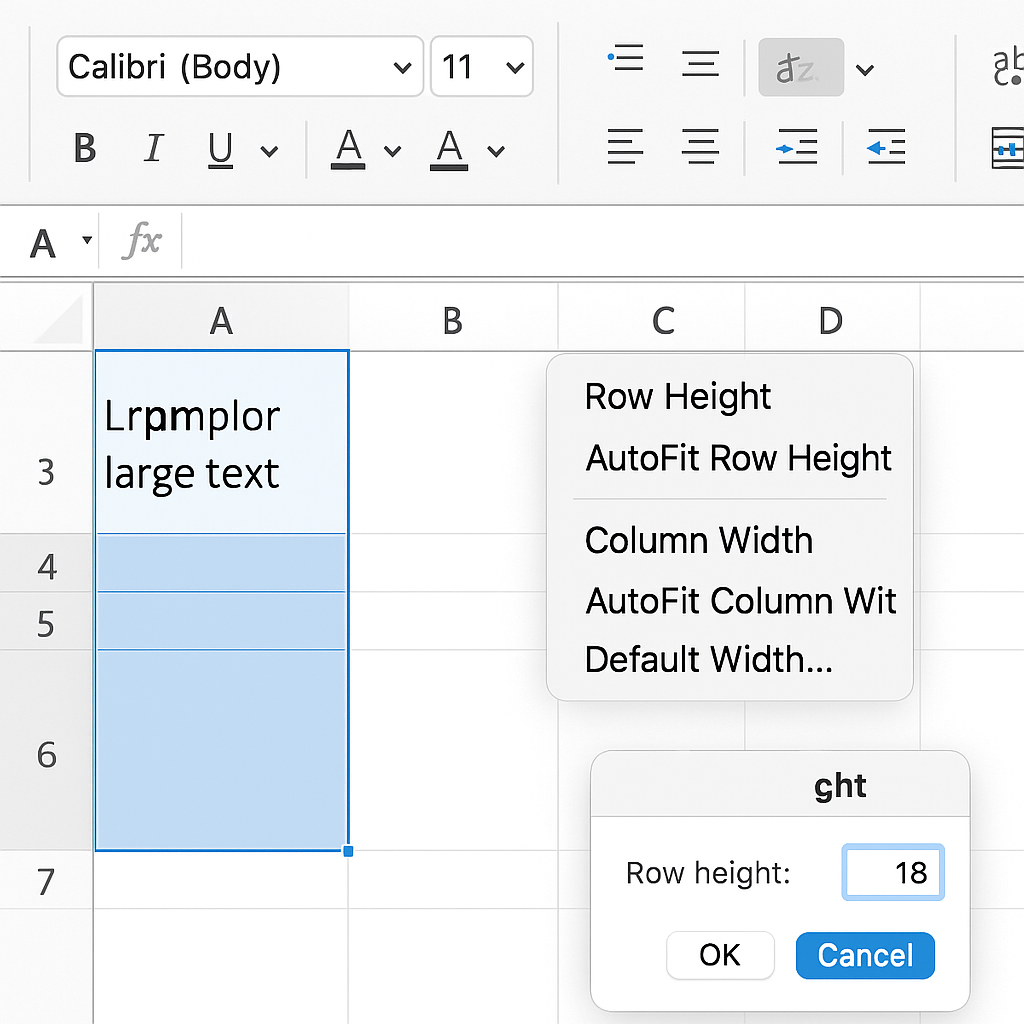
Method 2: Right-Click and Choose “Row Height”
For precise height adjustments.
- Right-click the row number on the left-hand side.
- Select Row Height from the context menu.
- Enter a specific value (e.g., 25) and click OK.
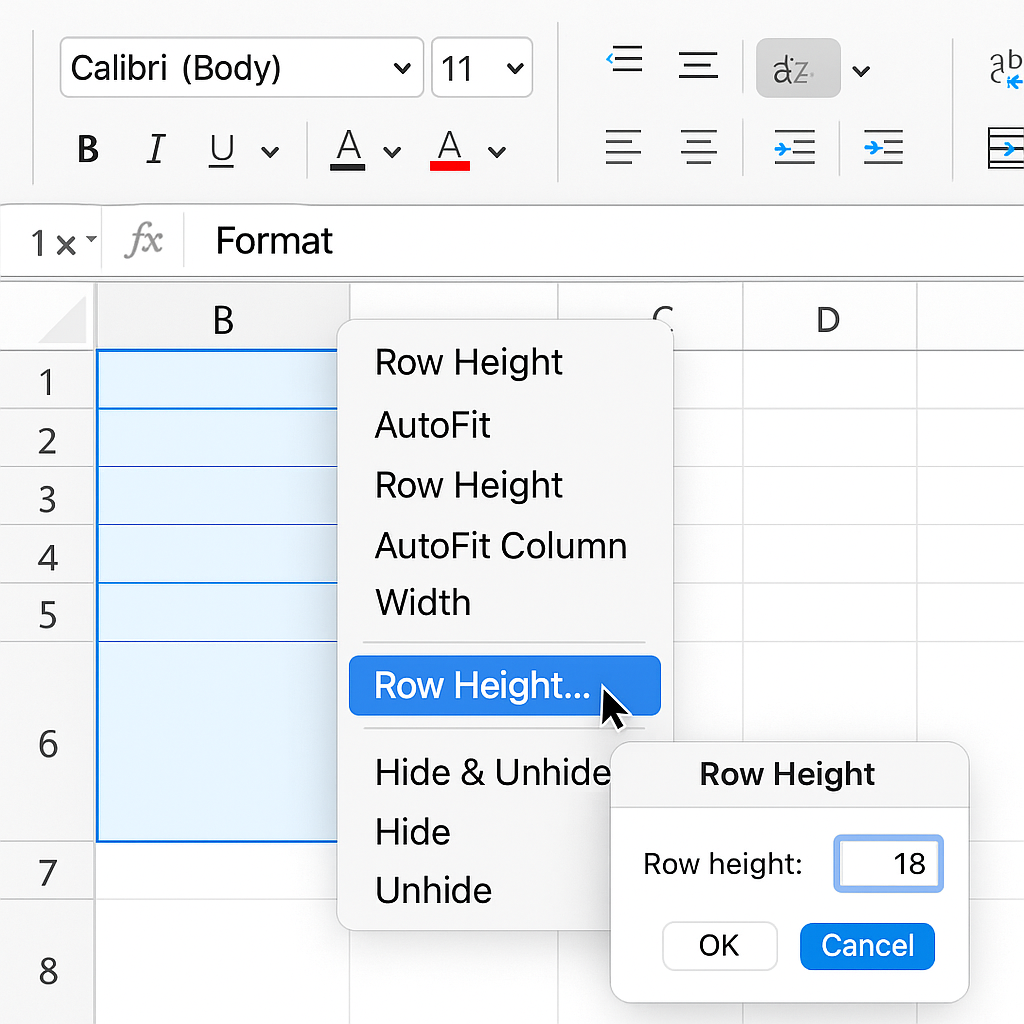
Method 3: Use the Ribbon (Format Menu)
Recommended for working with multiple rows.
- Select the rows you want to resize.
- Go to the Home tab on the Ribbon.
- In the Cells group, click Format > Row Height.
- Enter your desired height and click OK.
Method 4: Autofit Row Height
Ideal for adjusting height to fit wrapped or large text.
- Select one or more rows.
- Go to Home > Format > AutoFit Row Height.
Excel will automatically adjust the height based on the tallest content in each row.
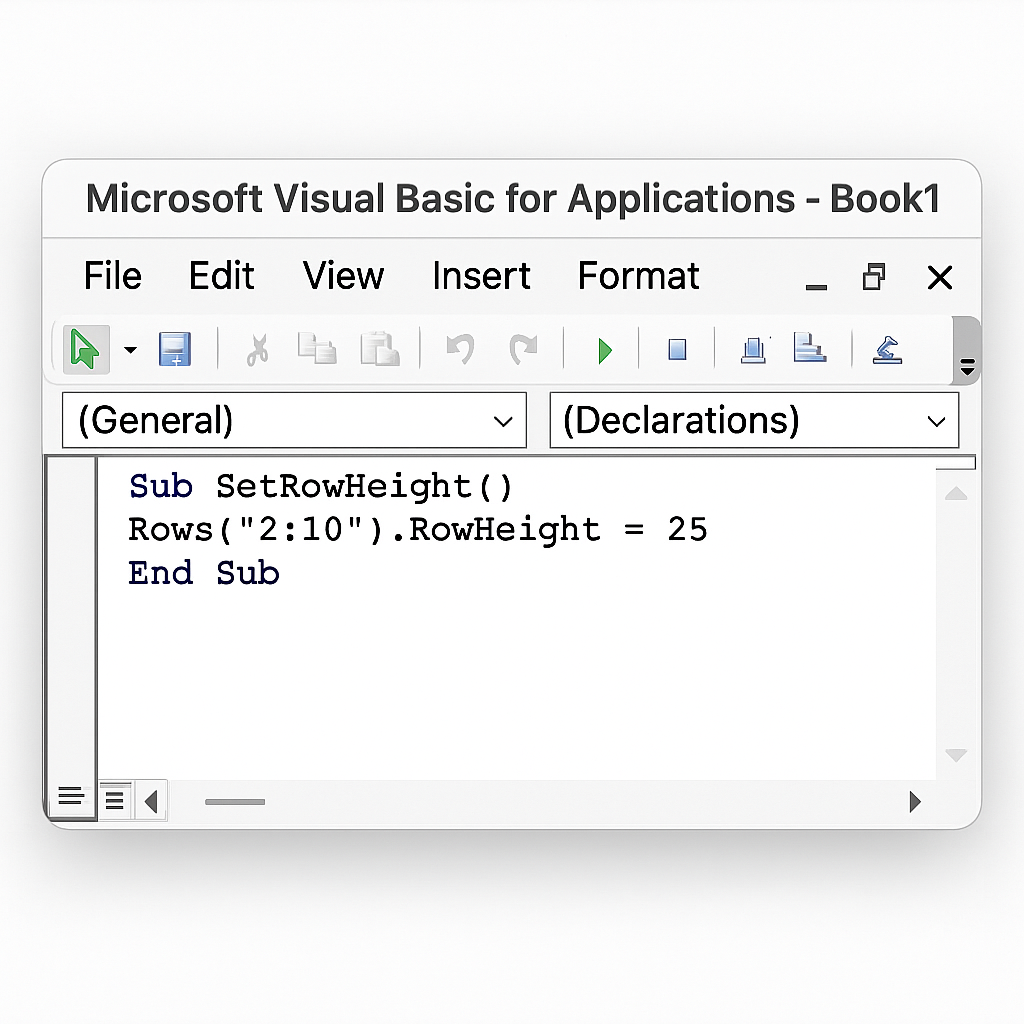
Method 5: VBA Macro (Advanced Users)
If you frequently need to set a specific row height, automate it with a macro.
Sub SetRowHeight() Rows(“2:10”).RowHeight = 25 End Sub
- Press Alt + F11 to open the VBA Editor.
- Paste the above code.
- Run the macro to set the height of rows 2 to 10.
Real-World Examples
Example 1: Row Height for Large Font Titles
You use font size 18 for headers in row 1.
Set row height to 30 manually using the right-click method to ensure full visibility.
Example 2: Wrapping Text in Cells
You enter long descriptions in column B and use Wrap Text.
Use AutoFit Row Height to automatically adjust based on content length.
Example 3: Displaying Images in Rows
You insert small icons or logos into cells.
Manually increase row height to 40-50 points so that images are fully visible.
Example 4: Consistent Row Height in Printed Report
You prepare a clean invoice template.
Use Format > Row Height to uniformly set all rows to 20 points for consistency.
Benefits of Changing Row Height in Excel
Improves Readability
Proper row height ensures that text, especially when wrapped, is not cut off. This is particularly helpful for multi-line cells.
Use Case: Viewing long product descriptions or comments.
Enhances Professional Appearance
Uniform or well-spaced row heights boost visual alignment. This is key in reports and dashboards.
Use Case: Financial reports, client presentations, or printed invoices.
Optimizes Space Utilization
Adjusting row height allows you to either compact your data to fit more on a page or expand it for clarity.
Use Case: Printing compact summary reports vs. creating reader-friendly overviews.
Accommodates Custom Content
Images, charts, or larger fonts often require taller rows to display properly.
Use Case: Inserting a company logo or data validation drop-downs with instructions.
Supports Accessibility
Users with visual impairments can benefit from taller rows and bigger fonts. This change makes data easier to access.
Use Case: Designing sheets for older users or clients with low vision.
How to Change the Row Height in Excel
Frequently Asked Questions (FAQ’s)
What is the default row height in Excel?
The default row height is 15 points, which is approximately 20 pixels.
Can I set the same row height for multiple rows?
Yes, select multiple rows, go to Format > Row Height, and enter your desired value.
What is the maximum row height in Excel?
The maximum row height is 409 points, which equals roughly 5.68 inches.
Why does row height not change even after entering a new value?
This might happen because of wrapped text, merged cells, or column widths that clash with auto-height settings.
How do I reset row height to default?
Select the row and use Format > Row Height, entering 15 to reset to default.
Conclusion
Changing row height in Excel is an easy but useful skill. It can make your spreadsheets clearer and more effective. Adjusting row height helps you control how your data looks and prints. Fixing your layout, adjusting images, or dealing with wrapped text can really improve your reports. These techniques will help you create clear and polished Excel documents. Use manual dragging and the AutoFit feature for a professional look.