

In today’s data-driven world, we often receive or store information in text files. This is especially true for large exports, logs, or raw data. But working with raw .txt files can be tough for analysis, reporting, or visualization. That’s where Microsoft Excel comes in. Excel lets users import text data and change it into neat rows and columns. This makes filtering, calculating, and analyzing much easier.
What is a Text File?
A text file is a simple file format that contains plain text. It usually has a .txt extension. You can open it with simple text editors like Notepad, or more advanced ones like Sublime Text, VS Code, and Notepad++. Text files have no formatting, fonts, colors, or rich media. They only include raw characters and line breaks.
Text files are commonly used for:
- Exporting data from systems (e.g., logs, CRM exports)
- Writing readable scripts or code
- Creating notes or storing config files
- Data transfer between applications
Common formats
There are two common formats of text files relevant to Excel:
Delimited Text Files: These use a specific character (like commas, tabs, or semicolons) to separate values. Examples:
- CSV (Comma-Separated Values)
- TSV (Tab-Separated Values)
- Pipe-delimited (|)
Fixed-width Text Files: These have data aligned in columns with a fixed width, with no delimiter.
How to Convert Text File to Excel
There are several ways to convert a text file to Excel. The method depends on the format and structure of your text file. Here’s a detailed breakdown of each method.
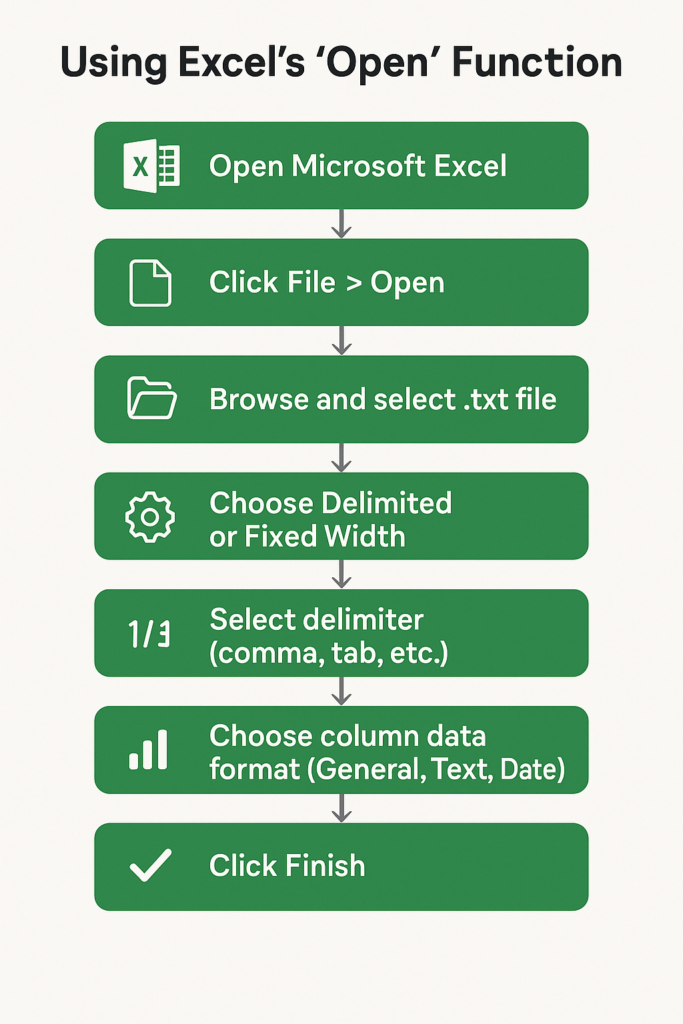
Method 1: Using Excel’s “Open” Function
This method is simple. It works best for structured text files, like CSV or tab-delimited files.
Steps:
- Open Microsoft Excel.
- Click File > Open.
- Browse and select your .txt file.
- Choose Delimited or Fixed Width based on your file. Select the delimiter (comma, tab, etc.). Choose column data formats (General, Text, Date).
- Click Finish.
Your text data is now organized in rows and columns inside Excel.
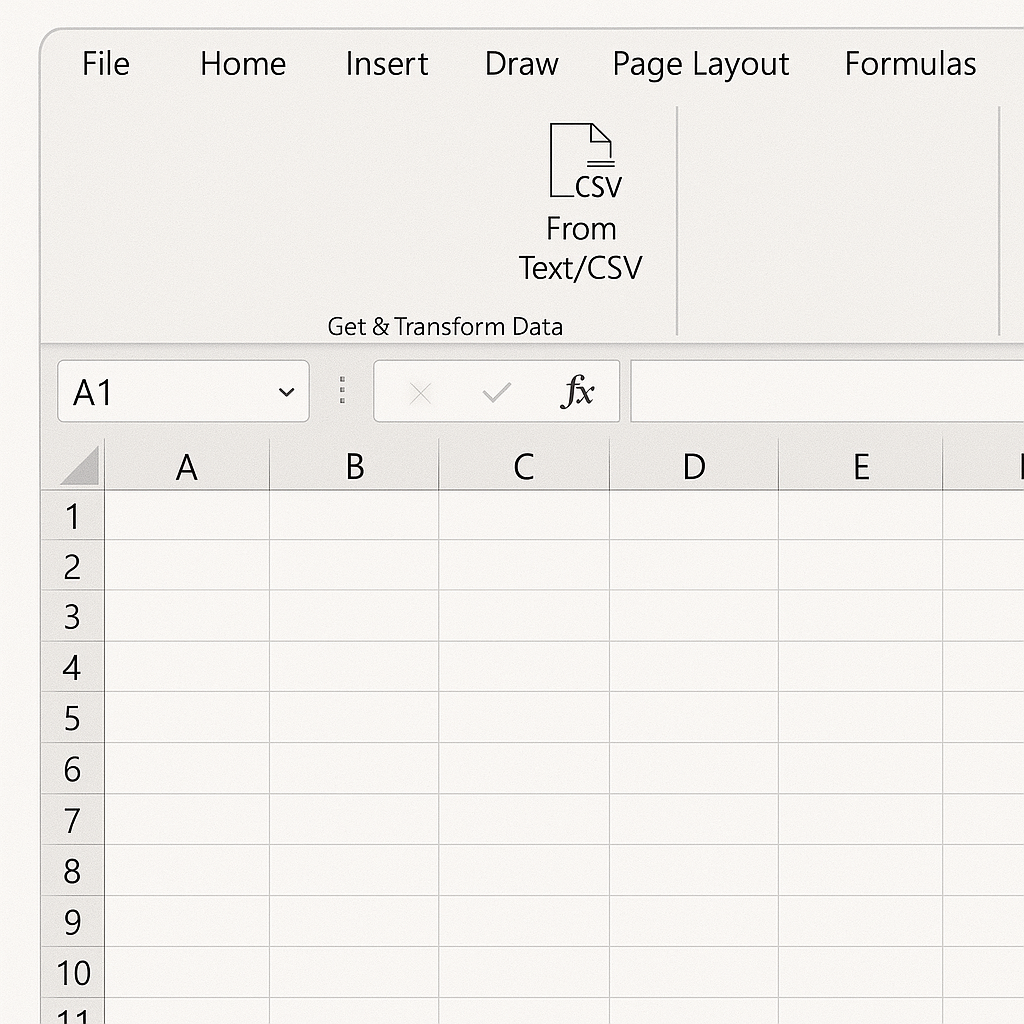
Method 2: Import Data from the “Data” Tab
This method is recommended when you need to refresh or manage large datasets.
Steps:
- Open a blank Excel sheet.
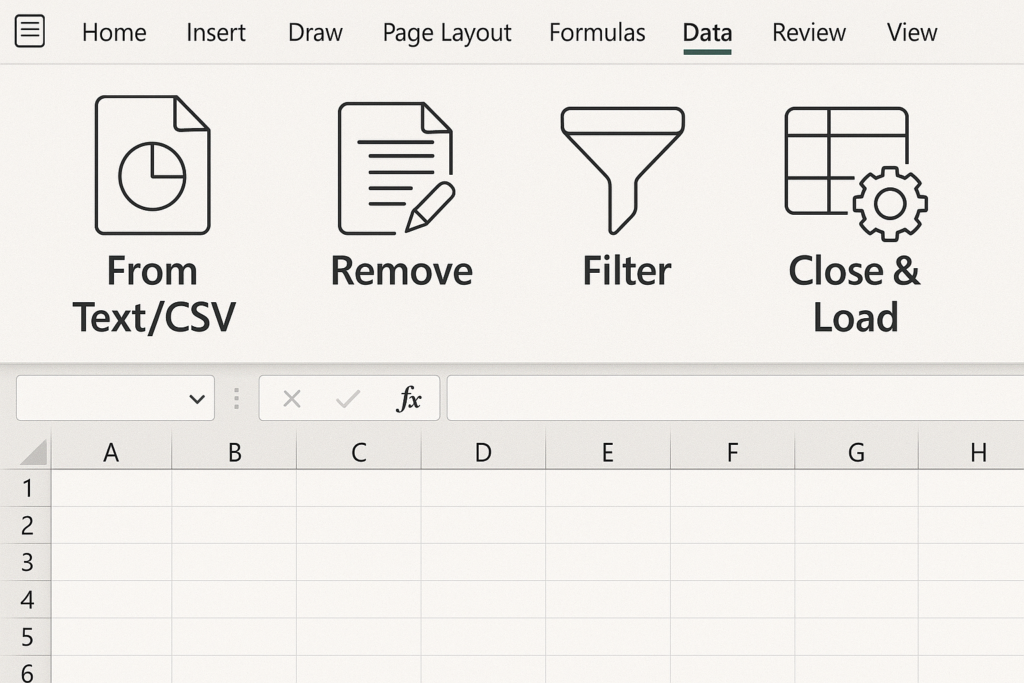
- Go to Data > Get & Transform Data > From Text/CSV.
- Select your text file.
- Excel will preview the content. Choose delimiter and format.
- Click Load to import directly or Transform Data to clean it in Power Query before loading.
This allows dynamic connection and makes it easy to refresh data later.
Method 3: Copy-Paste from Text File
If you only have a small amount of data:
Steps:
- Open the text file in Notepad or another editor.
- Select and copy the content.
- Paste it directly into Excel.
- Use Text to Columns (under Data tab) if needed to split the data into separate columns.
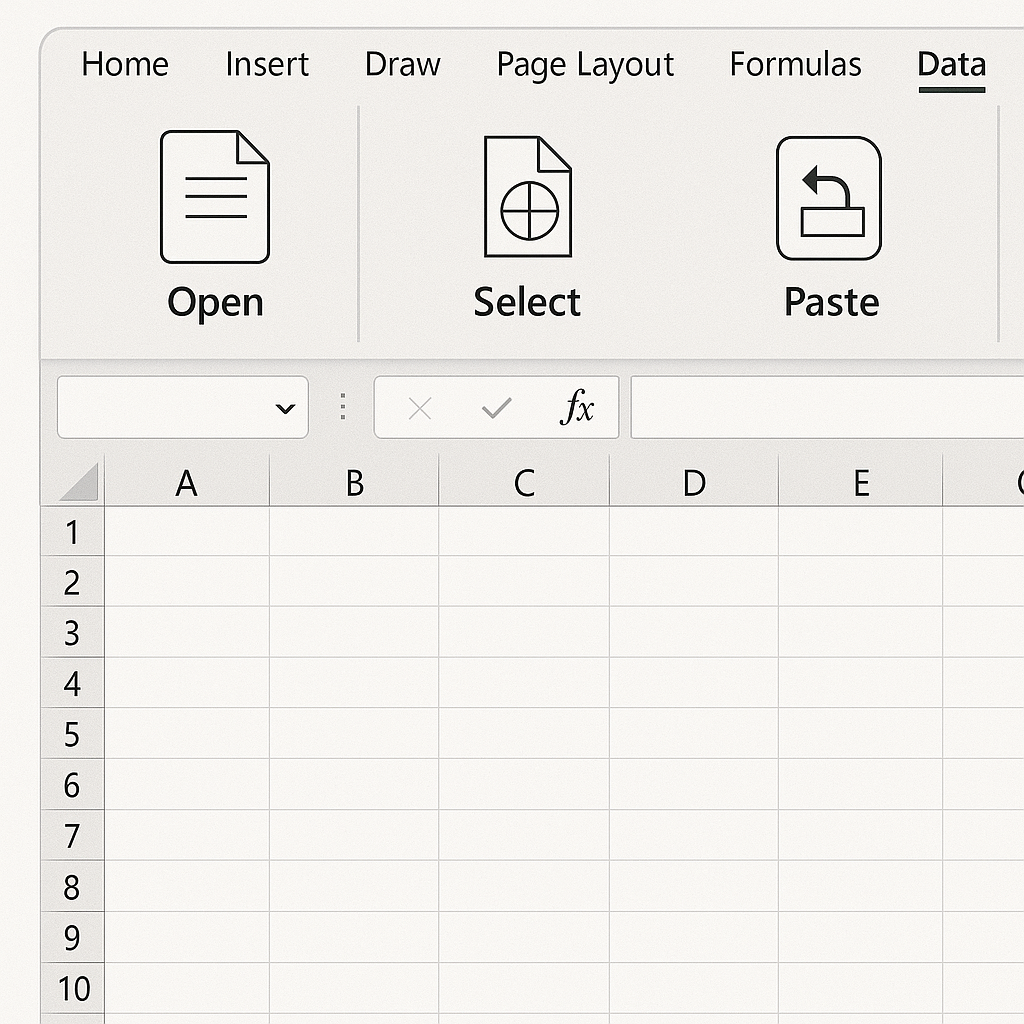
Method 4: Using Power Query (Advanced)
Power Query is ideal for cleaning and transforming data while importing.
Steps:
- Go to Data > Get Data > From File > From Text/CSV.
- Use the Power Query Editor to: Remove blank rows. Filter values. Rename columns. Split or combine columns. Click Close & Load.
This is useful for recurring reports or complex raw data.
Examples
Example 1: CSV File Import
File content:
Name,Email,Country
Ali,ali@example.com,Pakistan
Sara,sara@example.com,UK
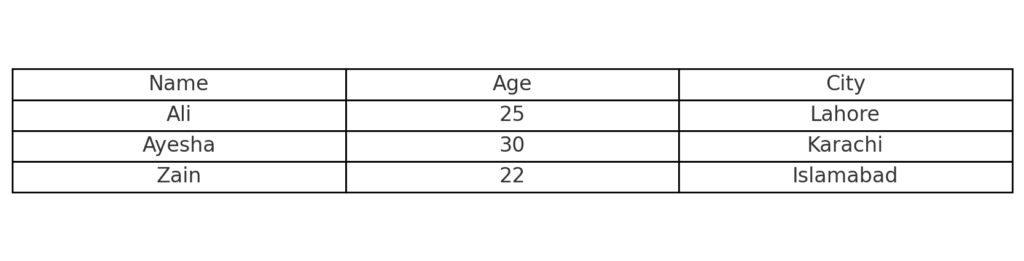
After importing into Excel, it appears as:
| Name | Country | |
| Ali | ali@example.com | Pakistan |
| Sara | sara@example.com | UK |
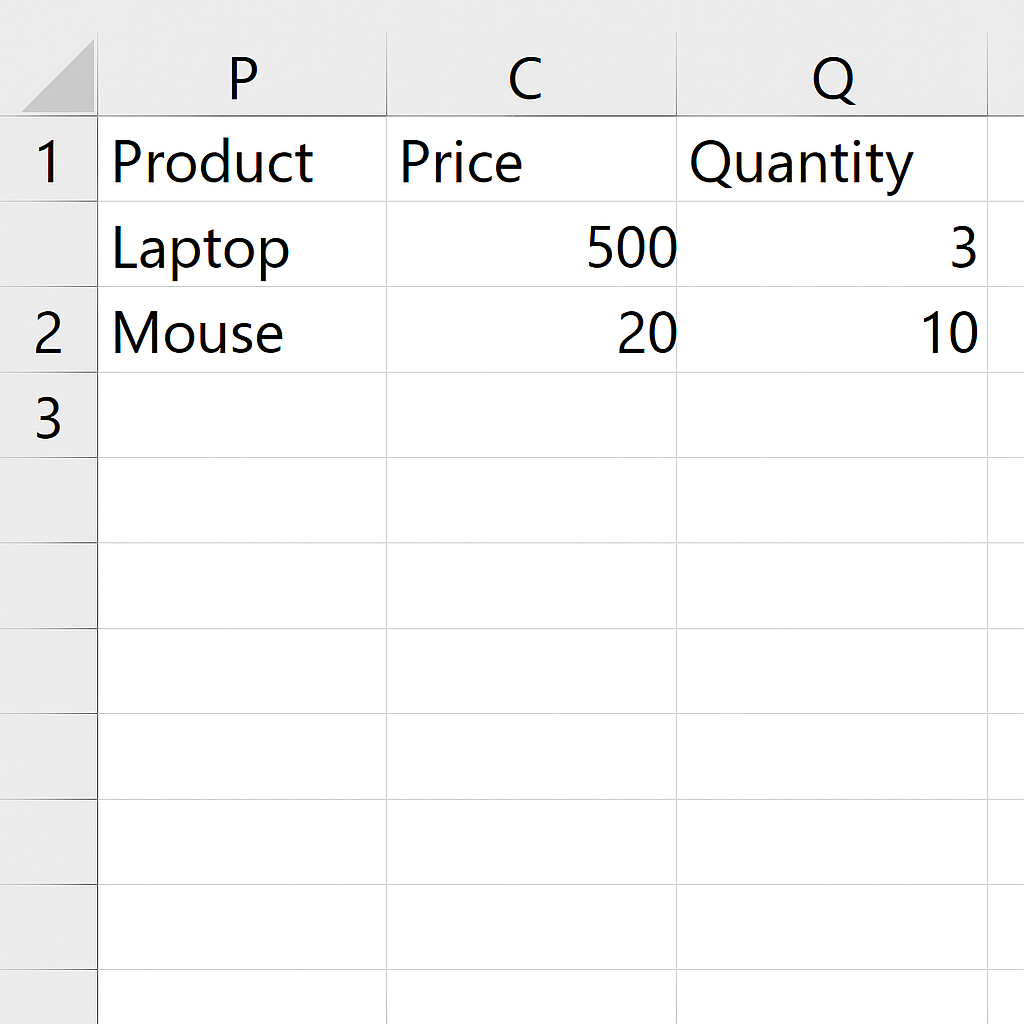
Example 2: Fixed-Width Text File
File content:
Product Price Quantity
Laptop 500 3
Mouse 20 10
Using the fixed-width import option, Excel aligns the data correctly into columns.
Benefits of Converting Text Files to Excel
Allows Visualization Through Charts and Dashboards
Excel’s charting tools rely on structured tabular data. Once your text file is converted, you can easily build:
- Bar charts for sales data
- Line graphs for trend tracking
- Pie charts for category distribution
This makes insights more actionable.
Reduces Errors in Manual Data Entry
Importing from text files saves you from copying and pasting data. This way, you avoid formatting or calculation errors. Excel makes sure data maps when you set delimiters or formatting rules right.
Supports Automated and Scheduled Updates
By using Power Query or VBA, you can automate the conversion process. This is great for businesses that get data exports every day or week from systems or vendors. It ensures consistency and saves valuable time.
Ideal for Large Datasets
Text files can be very large, but Excel handles large rows of data more efficiently after import. You can use filters, lookup functions, or break the dataset into manageable chunks. This is especially relevant for ecommerce, accounting, and IT system logs.
How To Convert a Text file into Excel File
FAQ’s
What’s the difference between importing and opening a text file?
Opening a text file directly with Excel may not preserve column structure. Importing allows you to define delimiters and formatting before the data loads.
How can I separate values using a custom delimiter?
When importing, select “Delimited” and choose “Other.” Enter your custom delimiter (e.g., |) to split values accordingly.
Can I save the imported data as an Excel file?
Yes. After importing, go to File > Save As and choose .xlsx or .xls format to save your data as a native Excel file.
Does Excel automatically detect the delimiter?
Excel usually finds common delimiters, like commas or tabs. Still, it’s best to check during the import preview step.
Conclusion
Turning a text file into Excel is a key skill for many professionals. Excel helps you organize, analyze, and visualize your data easily. You can manage customer lists, product exports, or system logs all in one place. Use the methods in this guide to customize your conversion process: manual import, Power Query, copy-paste, or VBA. This will help you fit your workflow and ensure accuracy.