

Microsoft Excel is a popular tool for organizing, analyzing, and sharing data. Manage budgets, financial models, customer databases, or reports carefully. Avoid unwanted changes. This is especially true when working with others. That’s where learning how to protect cells in Excel becomes essential. This guide covers what Excel cells are, why protecting them matters, and how to lock certain cells with Excel’s built-in features. You’ll find real-world examples, key benefits of cell protection, and answers to common questions. This content is optimized for today’s search engines. It also shows expertise, trust, and accuracy.
What Are Cells in Excel?
In Excel, a cell is the fundamental unit where you enter and manipulate data. Each cell is identified by a column letter and row number (such as A1, B3, etc.). Cells hold numbers, text, dates, formulas, or conditional formatting. They are the core of every Excel sheet.

Cells are used in:
- Financial records
- Business reports
- Attendance sheets
- Inventory databases
- Forecasting and more
It’s important to know how to protect cells. This helps you avoid accidental or unauthorized edits.
How to Protect Cells in Excel
Locking cells in Excel protects them from changes. Only you can allow edits. By default, all Excel cells are “locked.” However, locking only works when you turn on sheet protection.
Here’s a detailed step-by-step breakdown of how to protect specific cells in Excel:
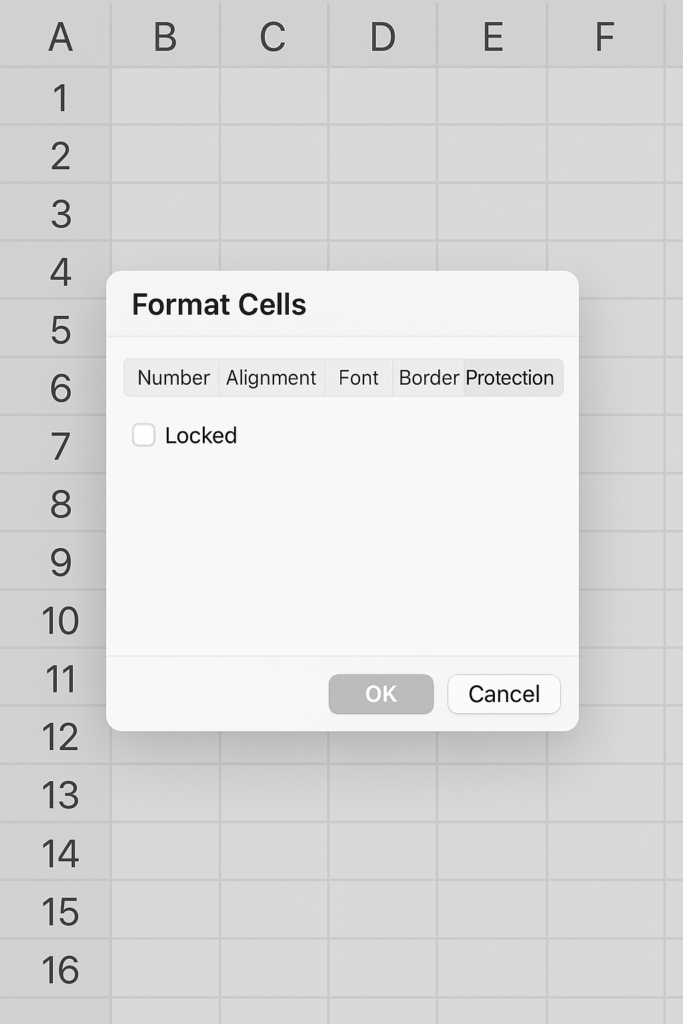
Step 1: Unlock All Cells First
By default, all cells are locked. However, you may want to protect only certain cells while keeping others editable.
- Press Ctrl + A to select the entire sheet.
- Right-click and choose Format Cells.
- Go to the Protection tab.
- Uncheck Locked, then click OK.
Now, the entire sheet is editable.
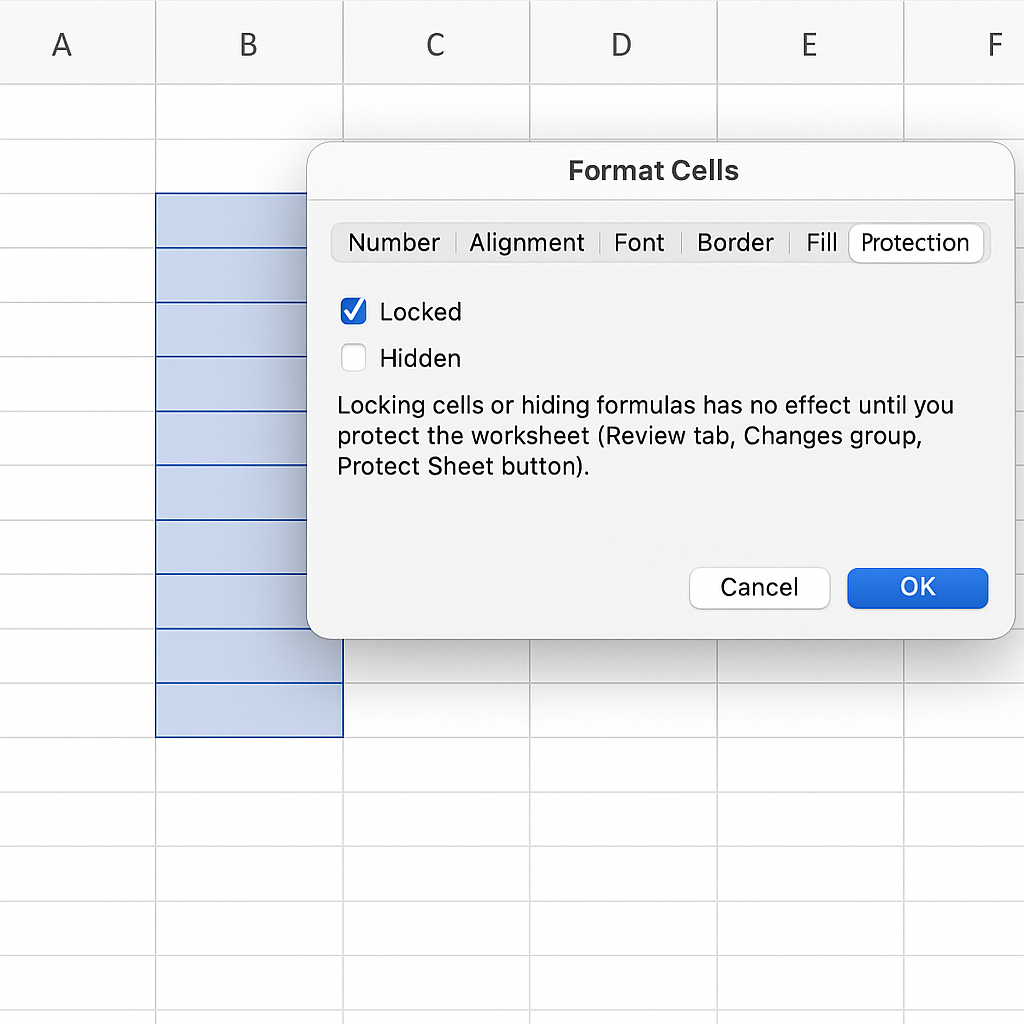
Step 2: Select and Lock the Cells You Want to Protect
Now, you choose the cells you want to protect.
- Click and select the target cell(s) (e.g., B2:B10).
- Right-click > Format Cells > Protection tab.
- Check the Locked checkbox.
- Click OK.
Only those specific cells are now marked for protection.
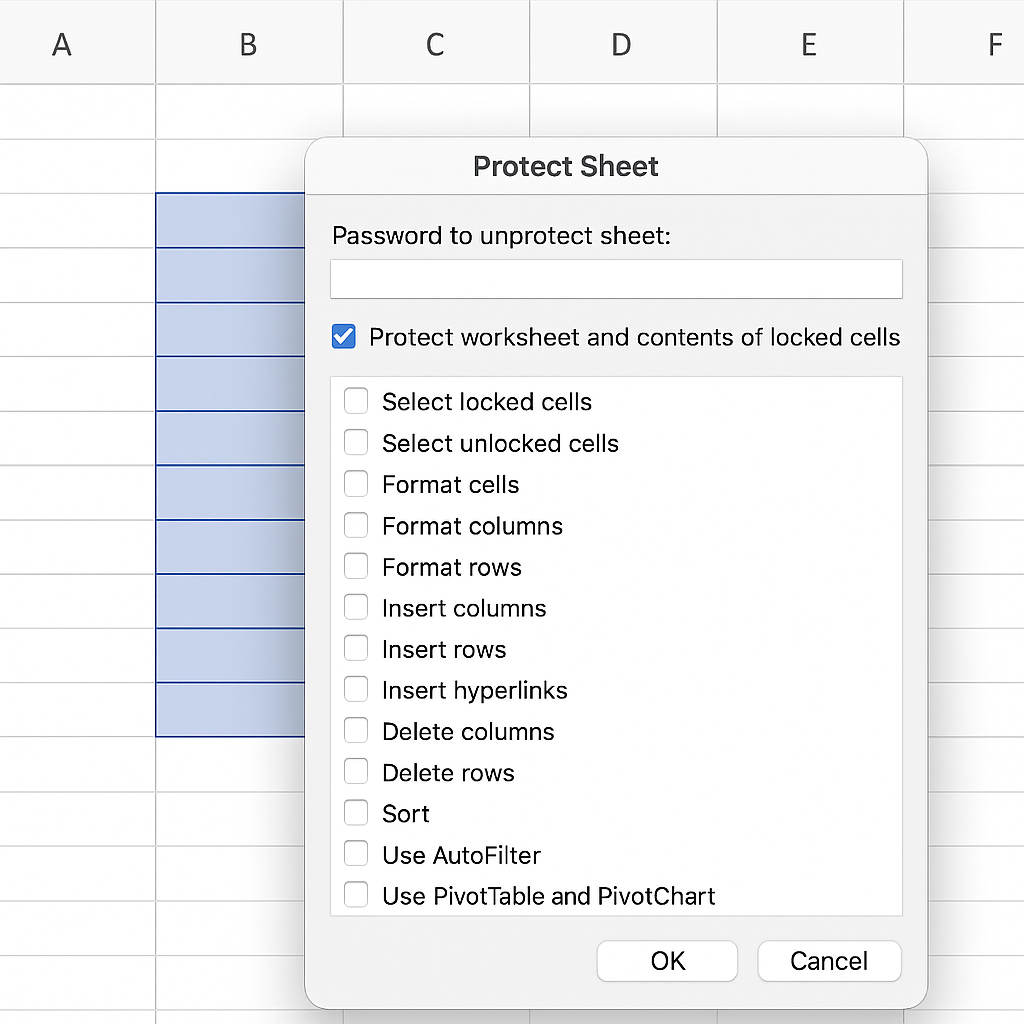
Step 3: Apply Sheet Protection
To enforce the locked status:
- Go to the Review tab in the Excel ribbon.
- Click on Protect Sheet.
- Choose what actions users can still perform (e.g., select unlocked cells, format columns).
- Enter a password (optional, but recommended).
- Click OK.
The cells you chose are now protected. Users can’t change them unless the sheet is unprotected.
Examples of Protecting Cells in Excel
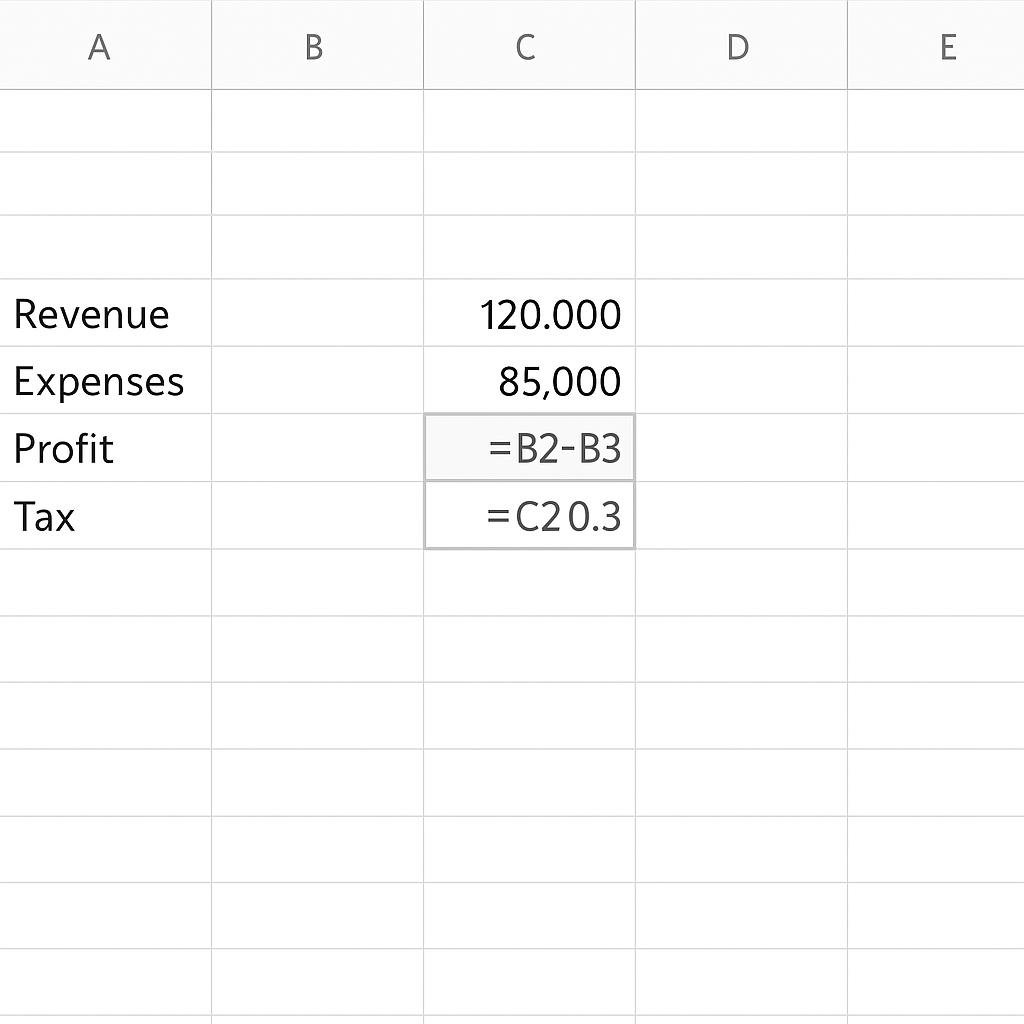
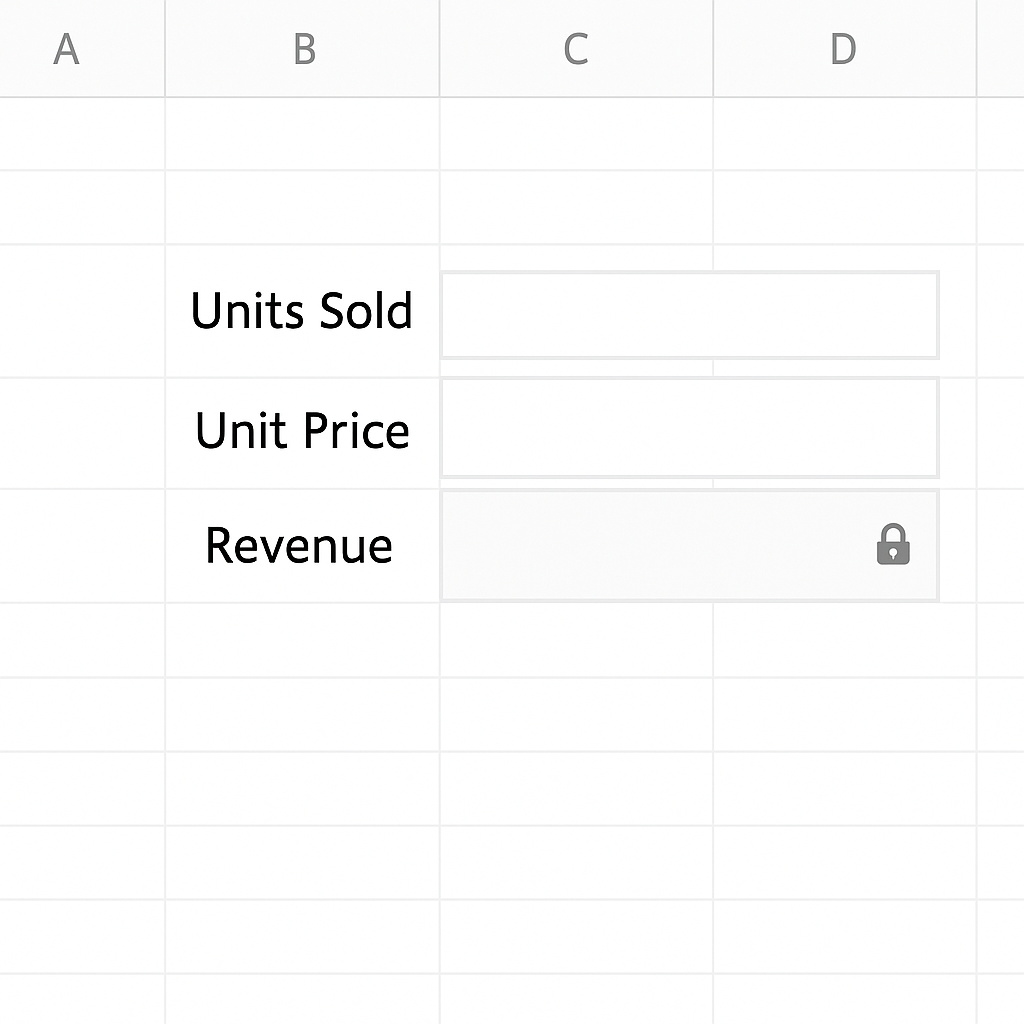
Example 1: Locking Formulas in Financial Reports
In financial models, formulas calculate totals, profits, and taxes. If someone mistakenly edits or deletes these formulas, it can break the entire sheet. Locking those cells keeps the logic safe, but you can still input in other areas.
Example 2: Protecting Static Fields in a Data Entry Form
When creating a form (e.g., a customer data form), some cells like “Date Created” or “Form ID” should never change. These can be locked while keeping input fields like “Name” or “Email” editable.

Example 3: Securing a Template for Reuse
You might build a reusable Excel template that colleagues use repeatedly. Protecting key formulas and structure lets them enter their own values. This keeps your original logic intact.
Benefits of Protecting Cells in Excel
Prevents Accidental Edits
Even experienced users can mistakenly delete or overwrite important data. Locking and protecting cells lowers the risk of accidents, especially with large spreadsheets.
Enhances Data Accuracy
In complex models, every cell may link to others. One incorrect edit can cause widespread miscalculations. Protecting these cells ensures the integrity of your data and outputs.
Supports Collaborative Workflows
When you share spreadsheets with teams in corporate settings, you can’t let everyone edit everything. Protected cells guide users on where to input data and where not to touch.
Improves Template Reusability
Keeping key cells safe in monthly reports or dashboards ensures the layout and formulas stay consistent. This makes it easier to generate consistent outputs with minimal risk.
Increases Security for Confidential Data
You can lock and protect cells with employee salaries, budgets, or client info. This way, even if you share the file, no one can change the data or accidentally reveal it.
How to Lock Cells ��in Excel to Protect your Formulas & Only Allow Input where Needed
FAQ’s
Can I protect only certain cells without locking the entire sheet?
Yes, you can choose specific cells to protect. First, unlock the entire sheet. Next, lock just the target cells. Finally, turn on sheet protection. This lets users edit the rest of the sheet while protecting only critical areas.
Will protected cells still work in formulas?
Yes. Protected cells still participate in formulas, calculations, and references. Protection only prevents users from editing the contents. It does not change how Excel uses the data in those cells.
What if I forget the password used to protect the sheet?
If you forget the password, there’s no built-in way in Excel to recover it. You can either use third-party tools, but they might not be reliable, or recreate the sheet. Always store your password securely using a password manager.
Can I allow users to edit only specific parts of a protected sheet?
Yes. Excel offers a feature called Allow Users to Edit Ranges (found under the Review tab). You can specify which cells or ranges different users can edit, even with the sheet protected.
Conclusion
Protecting cells in Excel is key. It helps keep your spreadsheets reliable, secure, and functional, especially when sharing with others. Cell protection keeps your work organized. It stops accidental changes. This is helpful when you manage reports, design templates, or analyze data. The best part? It’s easy to implement. Unlock the full sheet, choose key cells to protect, and turn on sheet protection. This way, you control how others use your spreadsheet. Plus, you can customize protection with passwords or user-specific access. To build secure and error-proof Excel files, follow these steps. You’ll save time and protect your work from accidental changes.