

Microsoft Excel is a strong tool that professionals use in many fields. It helps them analyze, manage, and visualize data. When you work with large spreadsheets, you need to control which data can be edited. That’s why locking columns is important. Locking a column in Excel is a key skill. You may want to share a file with your team. You might also need to protect sensitive financial data or stop accidental changes. This guide explains column locking in Excel. You’ll learn how to lock columns using various methods. It also covers when to use this feature and its benefits.
What is Locking a Column in Excel?
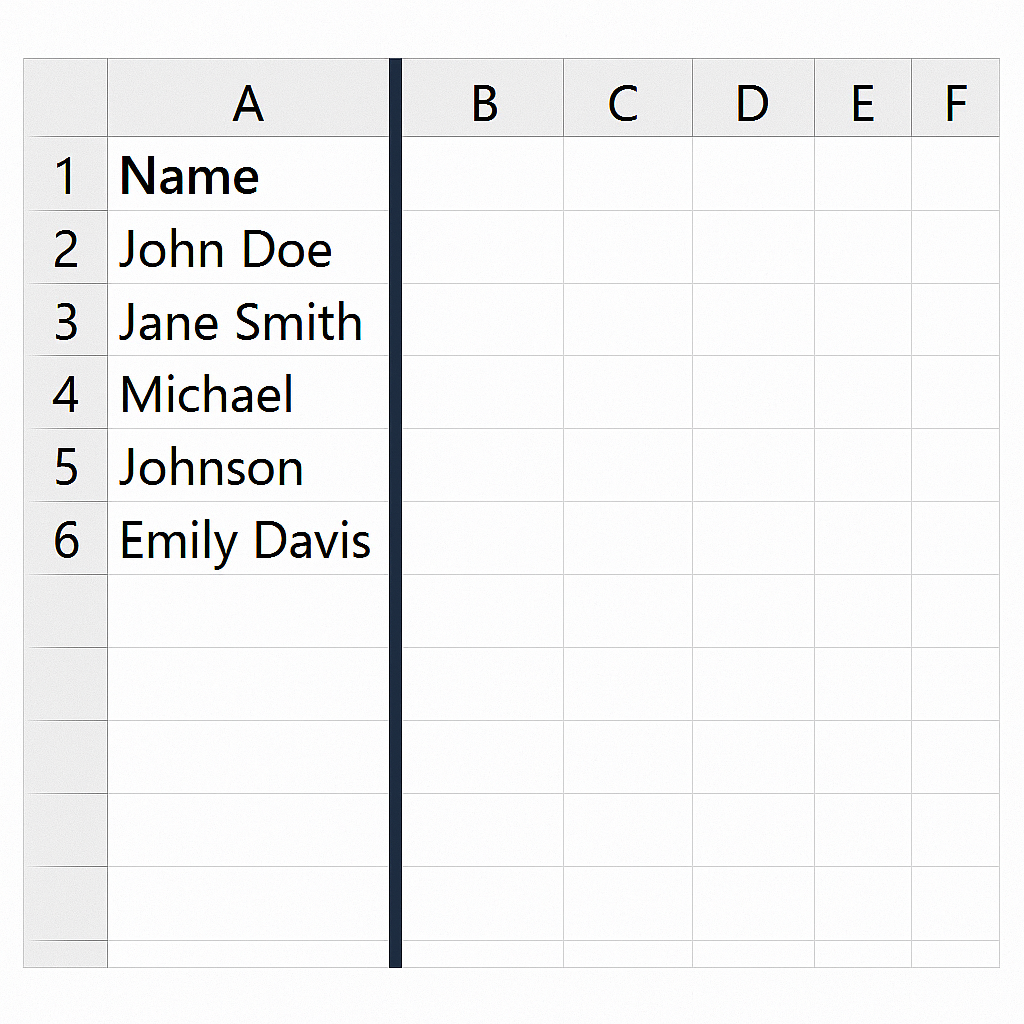
Locking a column in Excel means stopping users from changing data in certain columns. They can still edit other parts of the spreadsheet. All cells in an Excel worksheet are locked by default. But this only matters when you turn on worksheet protection.
Here’s how it works:
- You first unlock the cells that should remain editable.
- Then you protect the worksheet so that locked columns are no longer editable.
This method keeps data safe, especially when many users edit the same document.
How to Lock a Column in Excel
Locking a column involves three main steps:
- Unlocking all editable cells.
- Selecting and locking the desired column(s).
- Applying worksheet protection.
Let’s go through the steps in detail.
Step 1: Unlock All Cells First
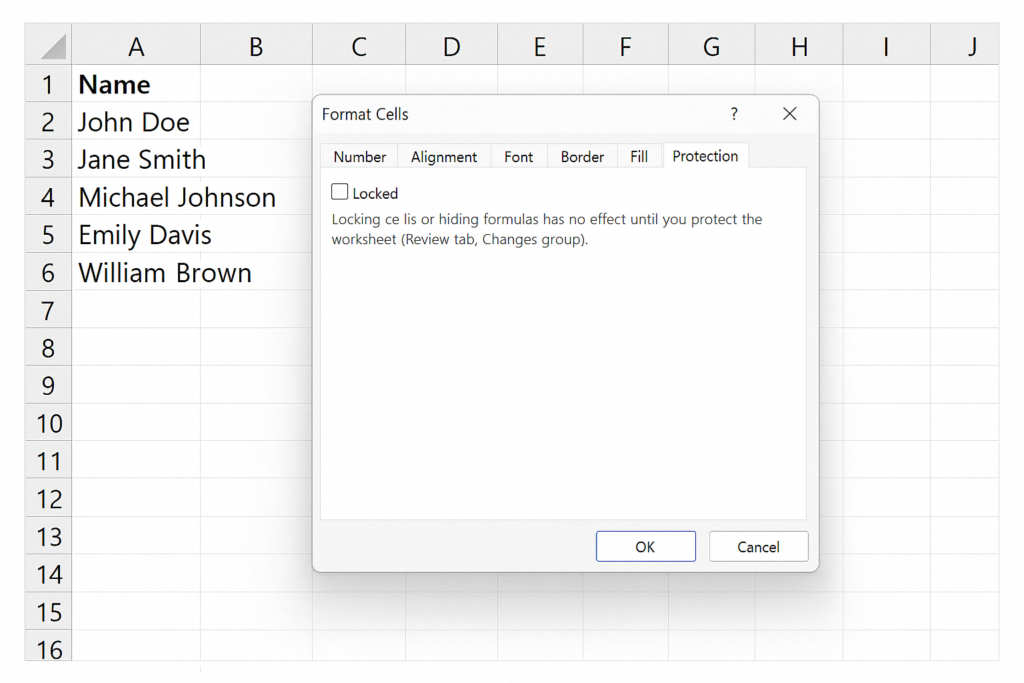
Since all cells are locked by default, the first step is to unlock the cells that should remain editable.
- Select the entire sheet (Ctrl + A).
- Right-click and choose Format Cells.
- Go to the Protection tab.
- Uncheck the Locked box.
- Click OK.
Now, all cells are unlocked.
Step 2: Select and Lock the Column You Want
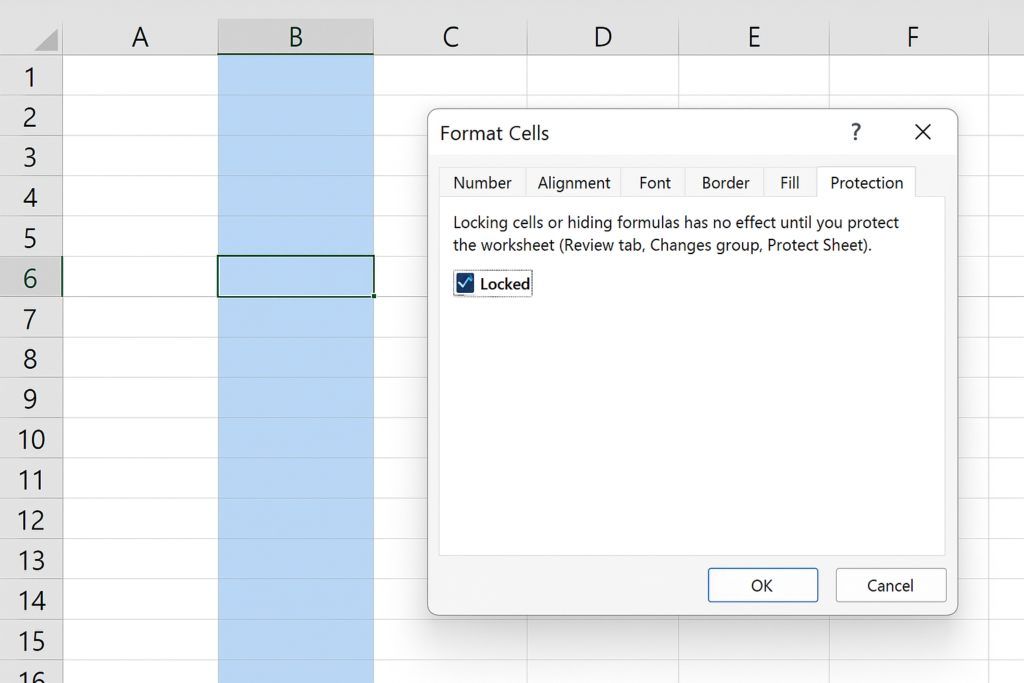
Next, select the column(s) you want to lock.
- Click on the column header (e.g., column B) to highlight the column.
- Right-click and choose Format Cells again.
- In the Protection tab, check the Locked box.
- Click OK.
At this stage, the column is marked as “locked” but it’s not yet protected.
Step 3: Protect the Sheet
Now, apply protection so that the lock takes effect.
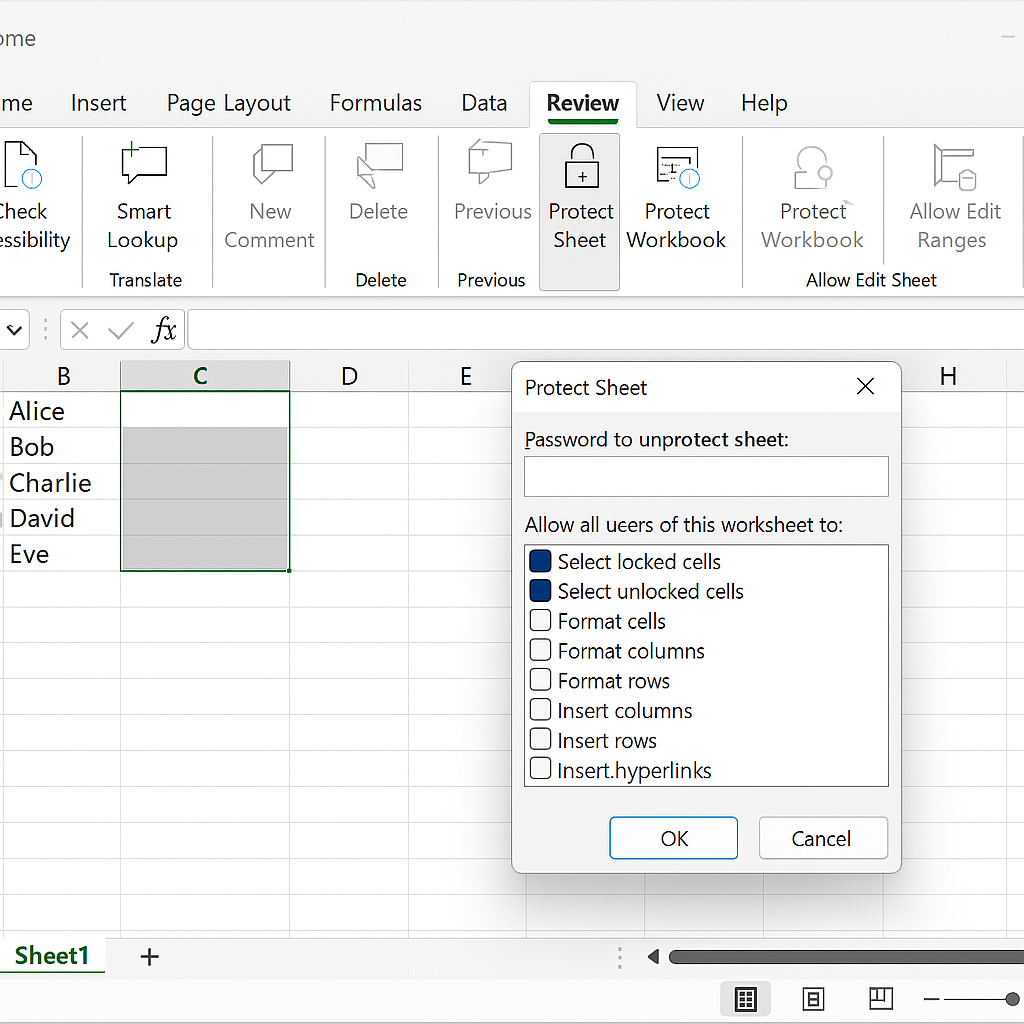
- Go to the Review tab on the Excel ribbon.
- Click on Protect Sheet.
- In the dialog box, choose the options you want to allow (e.g., Select unlocked cells).
- Enter a password (optional) for additional security.
- Click OK.
Now, the locked column cannot be edited unless the sheet protection is removed.
Examples of Locking a Column in Excel
Here are a few practical use cases where locking a column proves useful:
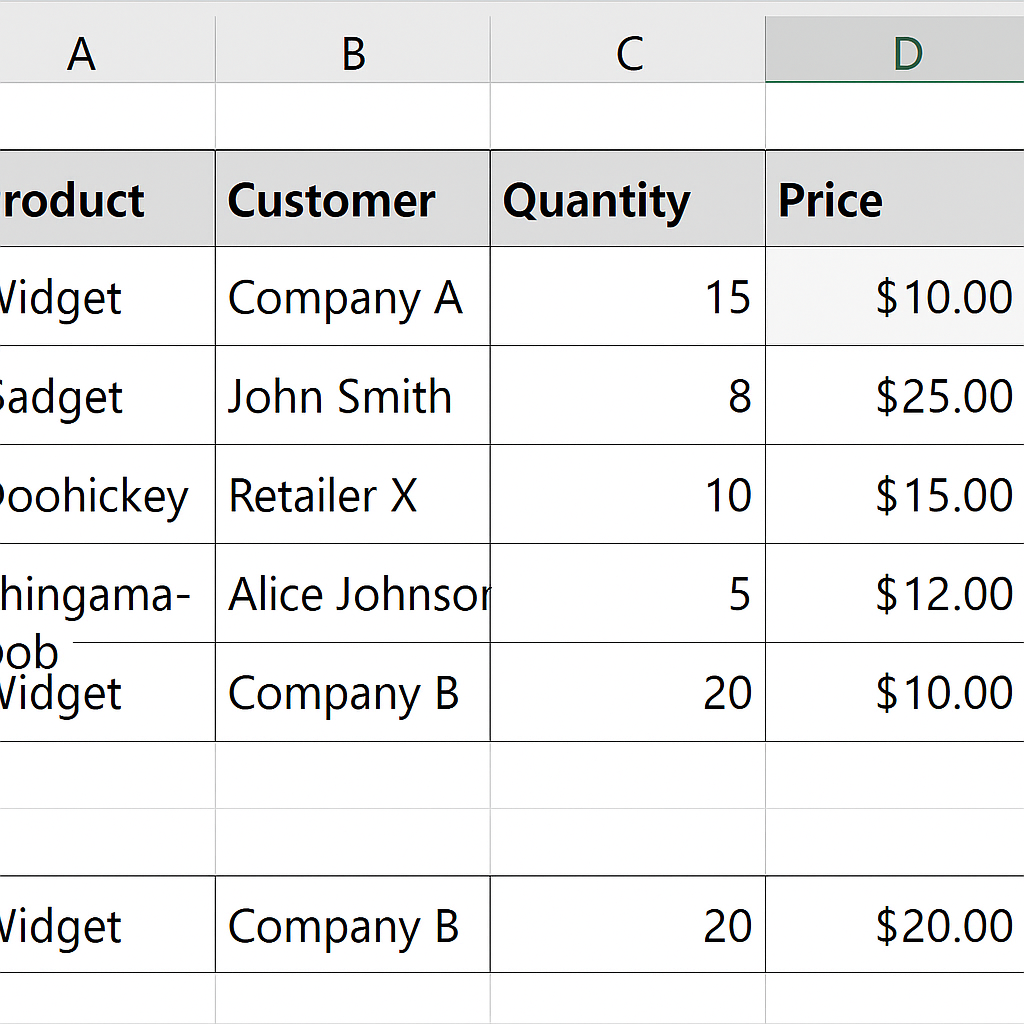
Example 1: Locking Price Column in a Sales Sheet
In a product sales sheet, allow staff to enter sales quantity or customer details. However, keep the unit price fixed. By locking the “Price” column, you ensure pricing integrity.
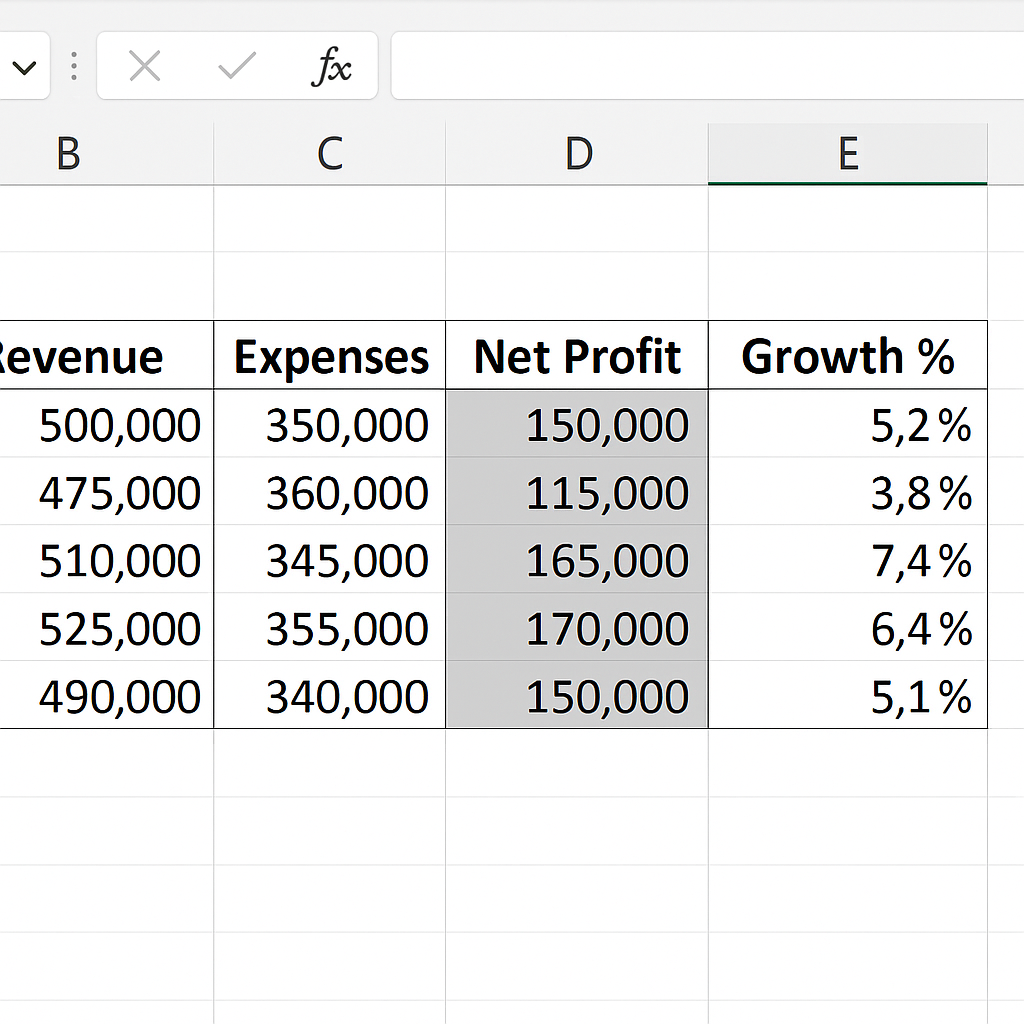
Example 2: Locking Formulas in Financial Models
In budgeting or forecasting sheets, keep the formulas in columns like “Net Profit” and “Growth %” the same. Locking these formula columns avoids accidental deletions or overwrites.
Benefits of Locking a Column in Excel
Prevent Accidental Edits
Locking a column is key to keeping important data safe from accidental changes. Users can still interact with the sheet but cannot make changes to protected columns.
Improve Data Accuracy
Locking formulas and reference data helps prevent mistakes. This way, others can’t accidentally delete or change important information. This results in more accurate calculations and reports.
Enhance Collaboration
In shared work environments, multiple people may work on the same Excel file. Locking certain columns helps users know their responsibilities. They can see what to work on and what to leave alone.
Ensure Compliance and Security
In finance, HR, and compliance fields, locking data is key. It helps meet company policies and regulatory standards. Lock columns to protect sensitive data, like salaries, taxes, and personal information.
Easy to Audit
Limiting edits to specific areas of a worksheet makes it easier to track changes. This helps keep a clear audit trail. This is especially valuable when versioning spreadsheets or submitting them to regulatory bodies.
How to Lock Cells ��in Excel to Protect your Formulas & Only Allow Input where Needed
FAQ’s
How do I lock a column but allow filtering and sorting?
When you protect a sheet in Excel, options like sorting and filtering are disabled by default. To keep them functional:
- Before protecting the sheet, select the cells where filters are applied.
- Go to Review > Allow Users to Edit Ranges, and allow changes if needed.
- Then, during protection, check the box for “Use AutoFilter” and “Sort”. This way, the column stays locked for editing, but users can still sort and filter data.
Can I lock multiple columns at once?
Yes, you can lock multiple columns at once. Simply select them (like columns A to C). Then, go to Format Cells, choose Protection, and click Locked. After that, protect the sheet to activate the lock. This is helpful when multiple fields need restriction.
What happens if I forget the password used to protect the sheet?
If you forget your password, it’s hard to unlock the sheet. You may need third-party tools. Excel does not provide a recovery option for lost passwords. It’s recommended to:
- Save the password in a secure place.
- Use a password manager.
- Use password-free protection if critical data isn’t involved.
Is locking columns available in Google Sheets too?
Yes, Google Sheets also allows column protection through Protected Ranges. You can:
- Select a column,
- Right-click and choose Protect range,
- You can give editing rights to certain users or set it to read-only. This is like Excel’s lock and protect feature.
Conclusion
Locking a column in Excel is an important way to protect your data. It helps you work better. It also makes teamwork easier, especially with many users. Locking columns helps keep your spreadsheets reliable and secure. It’s important for managing financial models, product databases, and employee records. Learn this skill to avoid errors. Follow these steps to improve your control over Excel files. This way, you can also avoid costly mistakes.