

It’s important to protect your Excel spreadsheet from unwanted changes. This is especially true when sharing sensitive data or working with others on projects. To keep your financial records, customer data, or project timelines safe, learn how to lock an Excel spreadsheet. This way, your information stays secure and unchanged. This guide covers all you need to know. It explains what an Excel spreadsheet is and how to lock it effectively.
What Is an Excel Spreadsheet?
An Excel spreadsheet is a digital document made with Microsoft Excel. It is part of the Microsoft Office suite. It is primarily used to organize, analyze, and manipulate data using rows and columns. Each spreadsheet can contain multiple worksheets, where data is stored in cells. These cells can hold numbers, text, formulas, or functions. This makes Excel great for budgeting, forecasting, data analysis, and reporting.
Excel spreadsheets are commonly used in finance, education, business operations, and research. Excel makes it easy to manage big data sets. It offers tools like pivot tables, conditional formatting, and macros. We need to prevent accidental or unauthorized changes because everything works together. That’s where locking helps.
How to Lock an Excel Spreadsheet?
Locking an Excel spreadsheet means limiting editing or changes. You can lock specific cells or the whole sheet or workbook. Below are detailed methods you can follow depending on your needs.
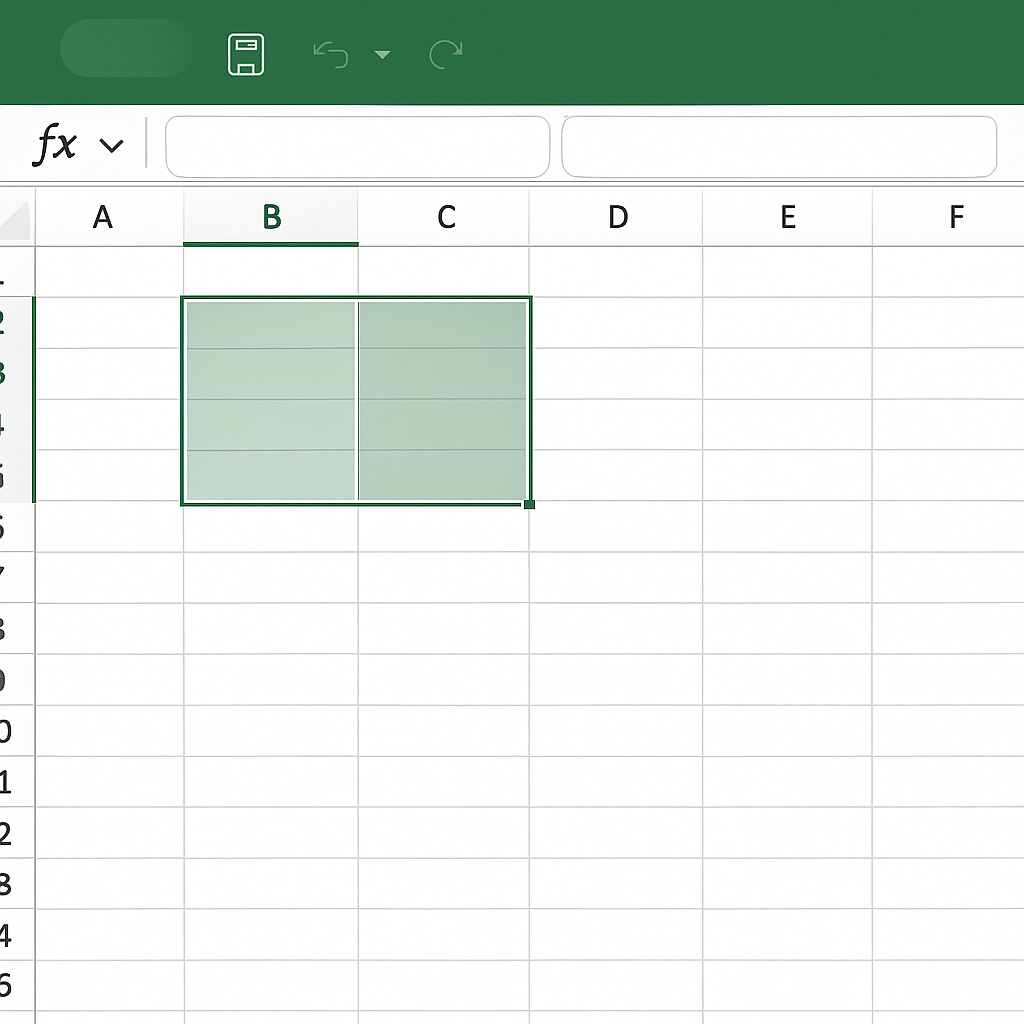
Step 1: Select the Cells You Want to Keep Editable (Optional)
By default, all cells in Excel are locked, but this only takes effect when you protect the sheet. If you want certain cells to remain editable:
- Select the cells you want users to edit.
- Right-click and choose Format Cells.
- Navigate to the Protection tab.
- Uncheck Locked.
- Click OK.
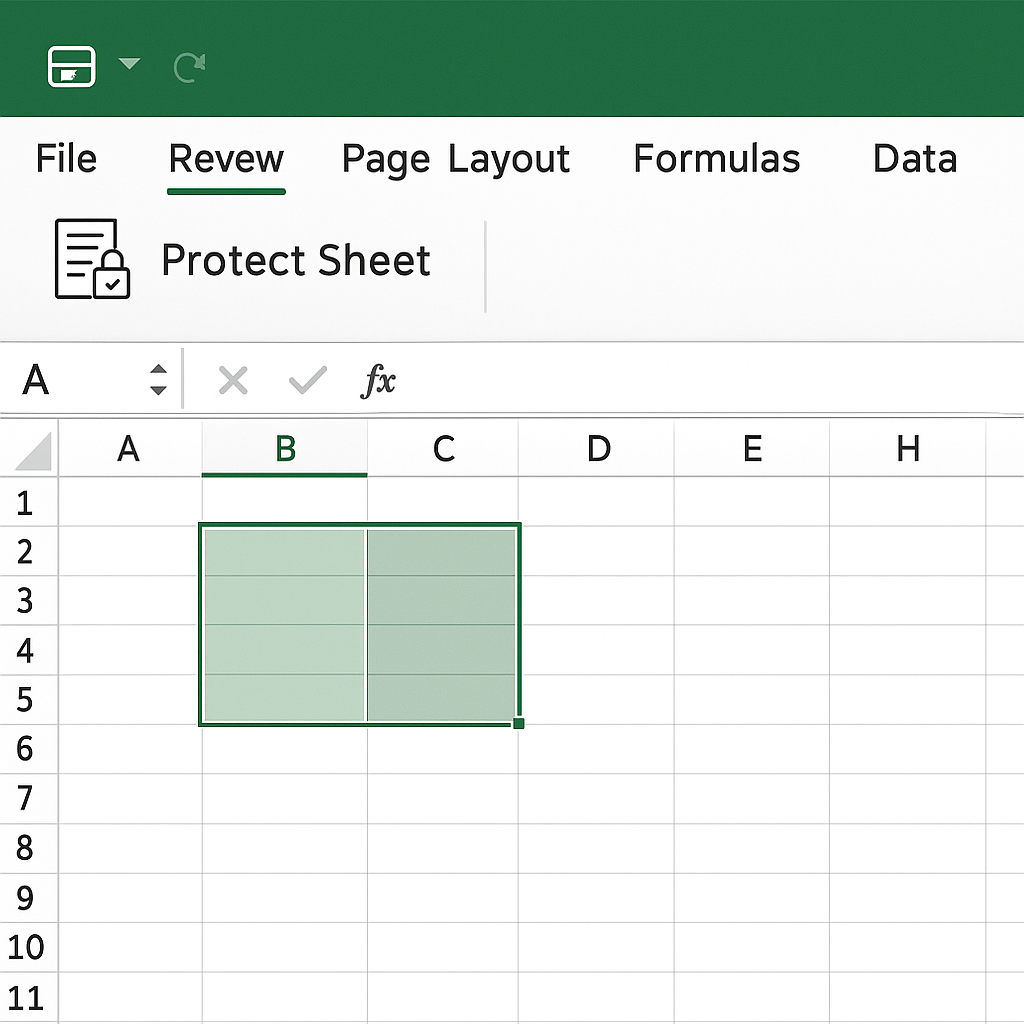
Step 2: Protect the Worksheet
- Go to the Review tab in the Excel ribbon.
- Click on Protect Sheet.
- Enter a password (optional but recommended).
- Choose the permissions you want to allow (e.g., select unlocked cells, format cells, etc.).
- Click OK.
Now, only the unlocked cells will be editable. The rest of the worksheet is protected from changes.
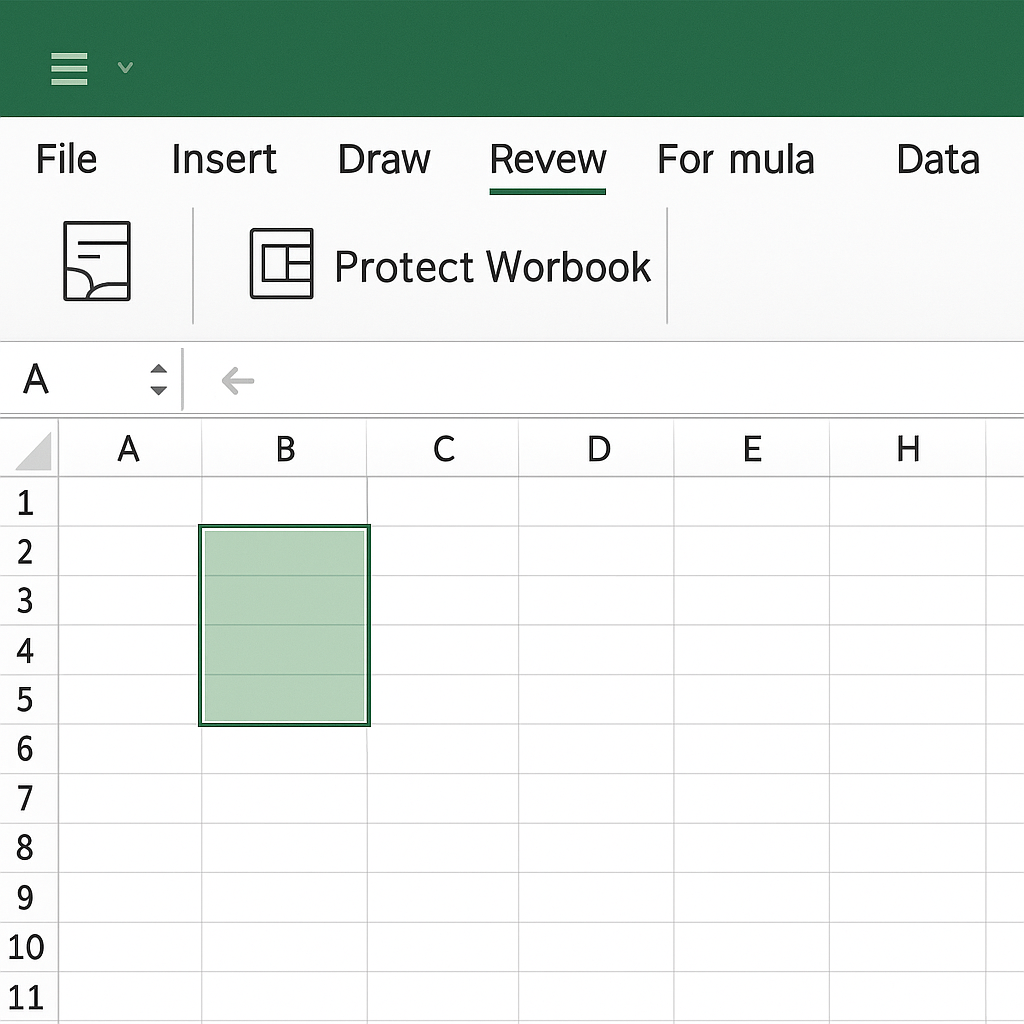
Step 3: Lock the Entire Workbook
To prevent others from adding, removing, or renaming sheets:
- Go to the Review tab.
- Click on Protect Workbook.
- Choose Structure.
- Enter a password and confirm it.
This ensures that no structural changes can be made to your Excel file.
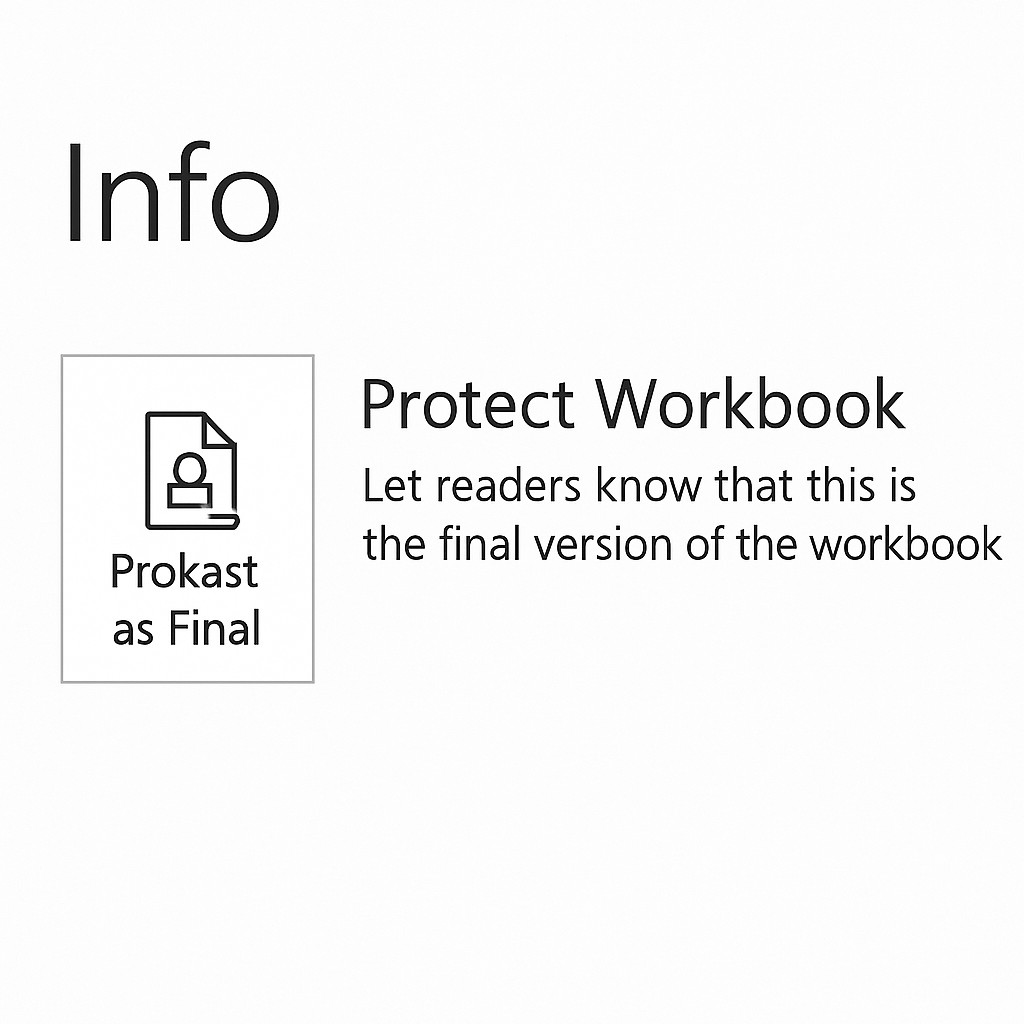
Step 4: Mark as Final (Optional)
This provides light protection. It mainly shows that the document should not be edited.
- Click on File > Info.
- Click Protect Workbook.
- Choose Mark as Final.
Users will receive a notification that the file is final. However, they can still edit it unless protection is turned on.
Examples of Locking Excel Spreadsheets
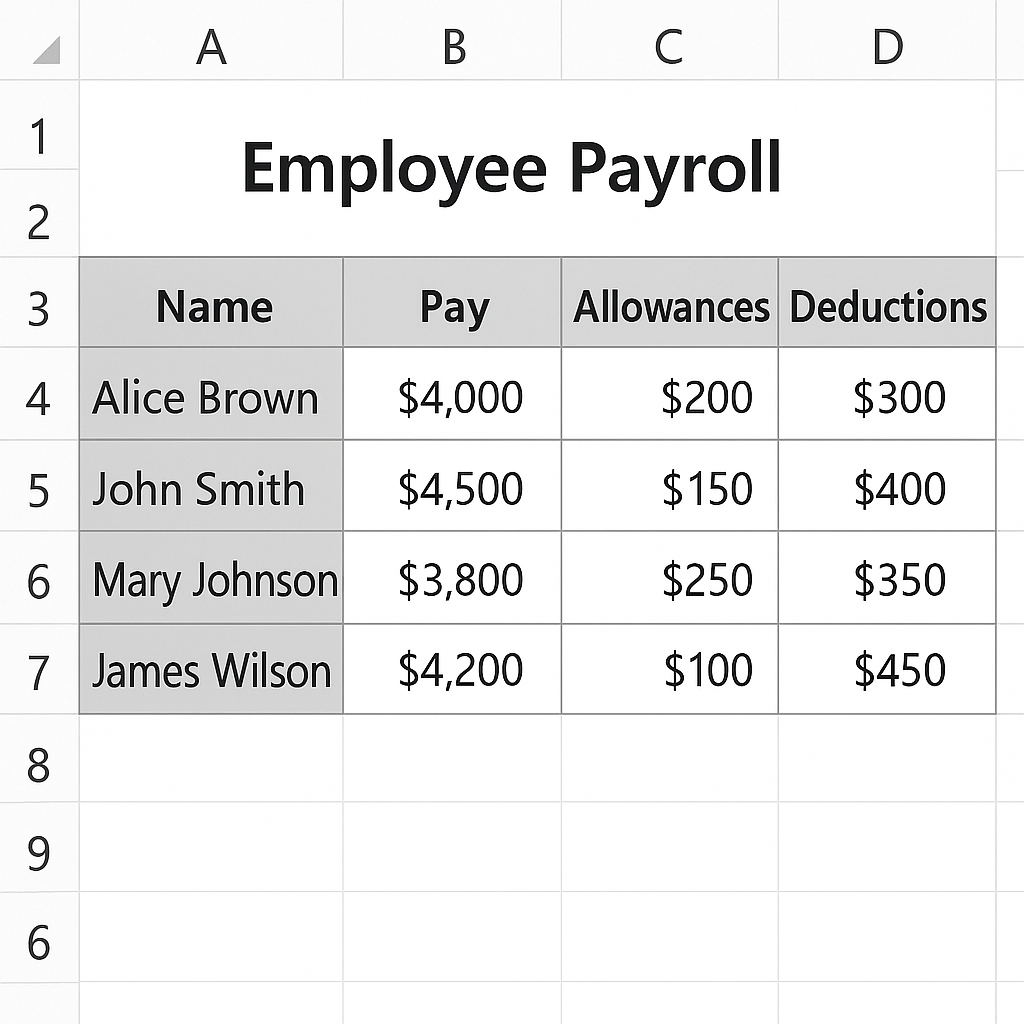
Example 1: Locking Employee Payroll Data
An HR manager may use Excel to manage monthly payroll. Unlock only the fields for allowances or bonuses. This will prevent any accidental changes to formulas or salary calculations. The rest of the sheet should remain locked.
Example 2: Locking a Budget Proposal
A financial analyst creating a budget wants stakeholders to check projections. They should not change any formulas. The sheet can be locked to allow only comments and prevent editing.

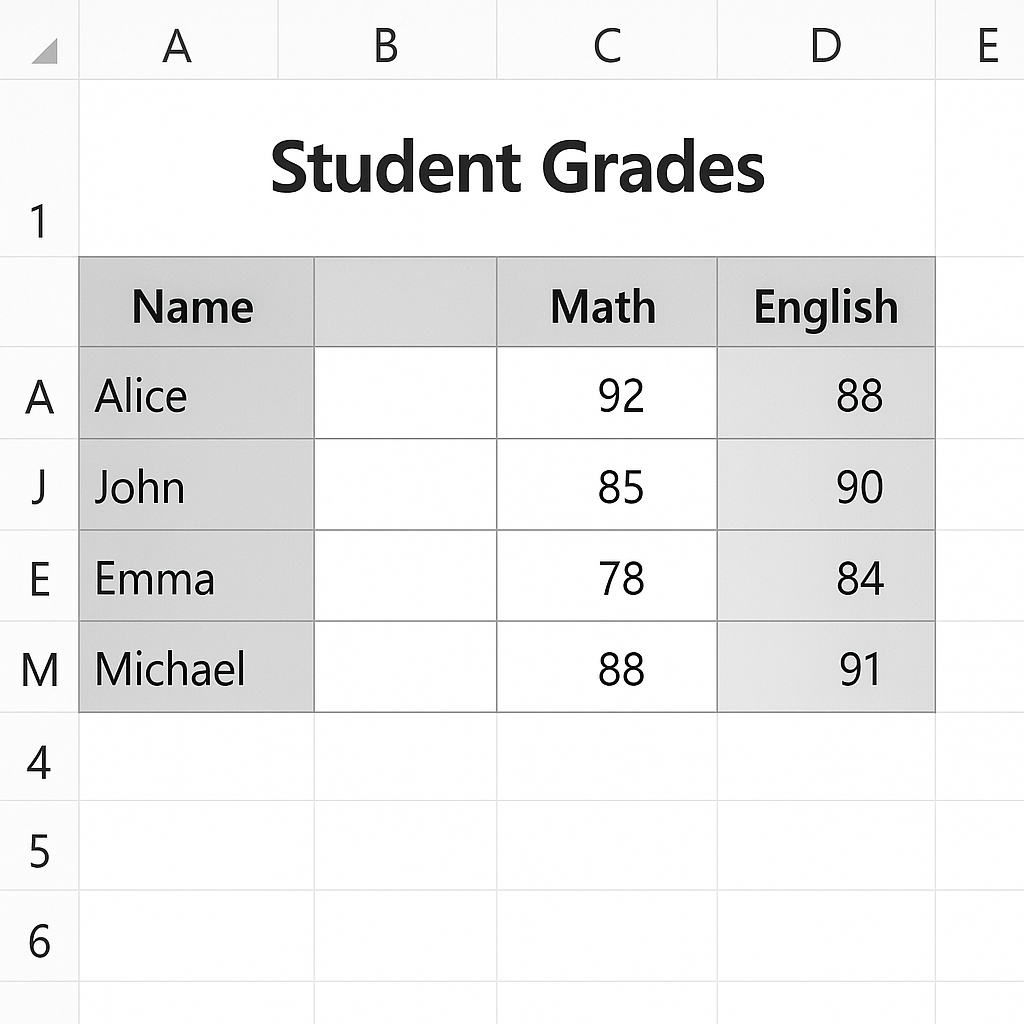
Example 3: Protecting Student Grades
In an academic setup, teachers often use Excel to maintain students’ grades. Locking the spreadsheet keeps students and unauthorized users from changing the marks. This helps maintain data integrity.
Benefits of Locking an Excel Spreadsheet
Prevent Accidental Changes
One of the most common issues in shared files is accidental modification. Locking keeps formulas, references, and static data safe from accidental changes. This is very important in financial documents.
Enhance Data Integrity
In environments where multiple people access a file, maintaining data accuracy is vital. Locking the spreadsheet keeps your calculations, links, and logic consistent and reliable.
Control Permissions
Excel allows you to control what each user can and cannot do. You can let users enter data in certain cells. The rest of the sheet stays protected. This gives you both flexibility and security.
Protect Confidential Information
Lock your spreadsheet if you handle sensitive information. This includes salaries, client data, or proprietary formulas. It’s an important step to protect your information. Password-protecting the workbook adds a layer of encryption and restricts access.
Maintain Professional Standards
Locking a spreadsheet shows professionalism. It shows you’ve worked to ensure accuracy and stop tampering. This is especially helpful in corporate or client-facing settings.
How to Protect Excel Sheet with Password | Lock Excel Sheet
FAQ’s
How do I remove protection if I forget the password?
If you forget the password for your Excel sheet or workbook, you can’t recover it from Microsoft. This is for security reasons. Third-party password recovery tools or VBA scripts can help. Just use them responsibly and only on files you own or have permission to access.
Can I lock an Excel file from being opened?
Yes, you can password-protect the entire Excel file from being opened. Go to File > Info > Protect Workbook > Encrypt with Password, and set a password. Without it, users won’t be able to open the file at all.
Will locking a spreadsheet affect data sharing on OneDrive or SharePoint?
No, locking a spreadsheet doesn’t affect your ability to share it on OneDrive or SharePoint. However, users will only be able to edit unlocked cells unless they know the password. It’s a good way to collaborate securely.
Can I lock just one tab in an Excel file?
Yes, Excel allows you to lock individual worksheets (tabs) separately. To protect a sheet, select it first. Then, go to Review and click Protect Sheet. After that, set your permissions and choose a password. Other sheets remain editable unless protected separately.
Conclusion
Locking an Excel spreadsheet is a key skill for anyone handling important or shared data. Locking your workbook helps keep data accurate. It builds trust and stops errors. It’s important for managing financial models, tracking inventory, or preparing student reports. You can keep usability while controlling access. Just lock specific cells, worksheets, or entire workbooks. Use this knowledge to make better, safer, and more professional Excel documents. In data management, control means power.