
Microsoft Excel is a powerful tool for data entry, analysis, and organization. When using large spreadsheets, you may need to rearrange data. One common action is moving a row to a different spot. Moving a row in Excel can save time and reduce mistakes. It helps when you’re organizing tasks, sorting entries, or preparing a report. In this guide, you’ll learn about rows. You’ll see how to move them in different ways. We’ll share real-life examples and detailed benefits. Plus, we’ll cover common FAQs.
What Are Rows in Excel?
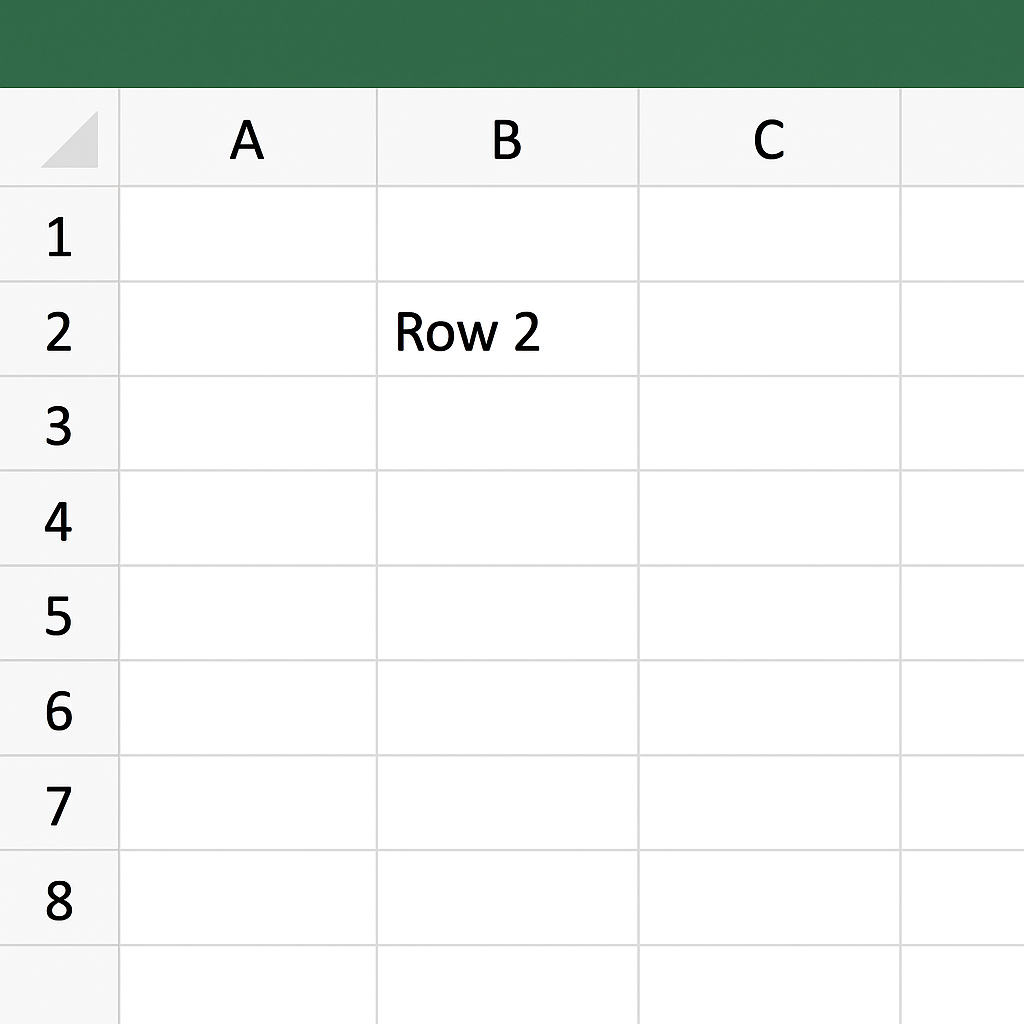
In Excel, a row is a horizontal line of cells, identified by numbers (1, 2, 3, etc.) on the left side of the worksheet. Each row spans across columns (A, B, C…) and contains related data entries in a structured format.
Example:
| A | B | C |
| 1 | Task Name | Assigned To |
| 2 | Design Logo | Sarah |
| 3 | Final Review | John |
Rows 2 and 3 contain individual records. Moving a row means relocating all data in that row to a different position in the spreadsheet.
How to Move a Row in Excel
You can move rows in Excel by dragging and dropping or by cutting and pasting. Choose the method that works best for you and your data.
Method 1: Drag and Drop to Move a Row
Best for: Quick rearrangement within the same worksheet
Steps:
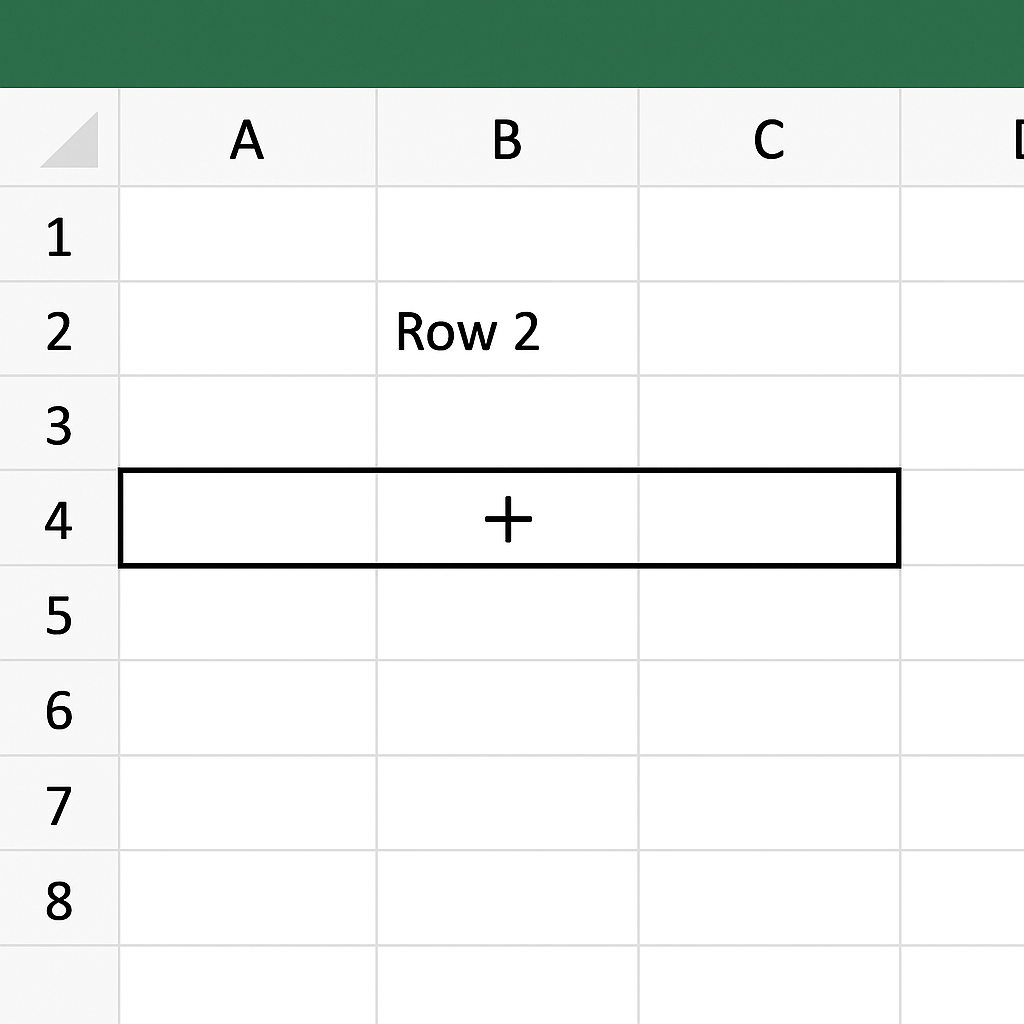
- Select the entire row by clicking on the row number (e.g., Row 4).
- Move your cursor to the edge of the selected row until it turns into a four-sided arrow.
- Press and hold the Shift key.
- Drag the row to its new location.
- Release the mouse button to drop it.
This method inserts the row into the new position instead of overwriting.
Method 2: Cut and Paste
Best for: Moving rows between worksheets or to specific positions
Steps:
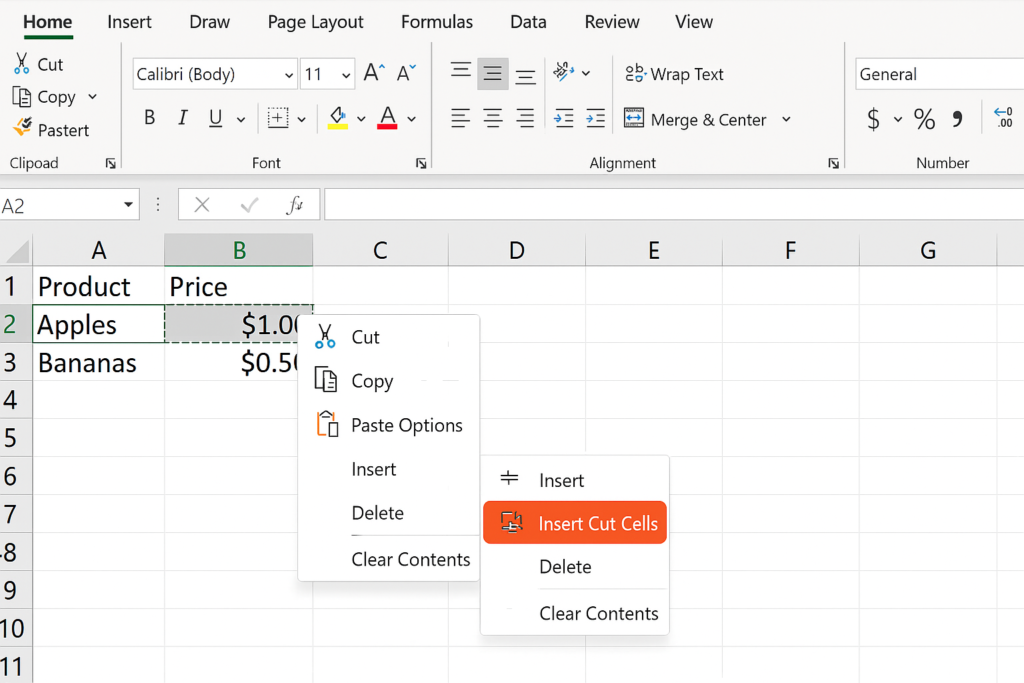
- Select the row you want to move.
- Right-click and choose Cut (or press Ctrl + X).
- Right-click on the row number where you want to insert it.
- Choose Insert Cut Cells.
This method ensures all data stays intact, including formulas and formatting.
Method 3: Move Multiple Rows at Once
Steps:
- Hold Shift and click the first and last row numbers to select multiple rows.
- Use either drag-and-drop (within the same sheet) or Cut and Insert Cut Cells (across sheets).
Pro Tip: Always check cell references after moving them. This helps avoid breaking formulas.
Method 4: Use VBA to Move a Row Automatically
For advanced users:
Sub MoveRow() Rows(3).Cut Rows(6).Insert Shift:=xlDown End Sub
This macro cuts Row 3 and inserts it before Row 6. Useful for automated data management.
Examples
Example 1: Reordering a Task List
| Row | Task | Owner |
| 2 | Write Report | Emma |
| 3 | Final Review | John |
| 4 | Design Slides | Sarah |
Move “Final Review” above “Write Report” using drag-and-drop or cut-and-insert.
Example 2: Moving a Row to Another Sheet
- Cut Row 5 from Sheet1
- Go to Sheet2
- Right-click on Row 3 > Insert Cut Cells
The row will now show up in a different worksheet. It will keep all its formatting and values.
Benefits of Moving Rows in Excel
Enhances Data Organization
Reordering rows helps you organize your spreadsheet. This is great for prioritizing tasks, sorting by time, or grouping similar items.
Supports Dynamic Project Updates
When projects change or tasks shift, moving rows helps you adjust plans. This keeps your spreadsheet up-to-date and ready to use.
Saves Time on Manual Rearrangement
Excel’s row movement features let you move data quickly and without mistakes. You can use drag-and-drop for an even faster solution.
Preserves Formatting and Formulas
Cut-and-insert keeps all the key parts of your row. This includes borders, fonts, cell styles, and calculations. It helps cut down on rework and formatting problems.
Ideal for Large-Scale Data Management
Editing financial models or managing inventories? Moving rows in Excel makes it more flexible. It also helps with changes, even in large datasets.
Frequently Asked Questions (FAQ’s)
Can I move rows without overwriting other data?
Yes. Use Shift + drag-and-drop or Insert Cut Cells to move rows safely. This way, you won’t overwrite existing rows.
What happens to formulas when I move a row?
Formulas within the moved row remain intact. If cell references break, you may need to update formulas in other sheets or rows.
Can I undo a row move?
Yes. Press Ctrl + Z immediately after the move to undo the action.
Can I move non-adjacent rows at once?
No. You can only move continuous (adjacent) rows together. Non-adjacent rows must be moved individually.
Can I move rows based on cell value (automatically)?
Yes. Use VBA scripting or Power Query to move or sort rows based on rules.
Conclusion
Knowing how to move a row in Excel is a basic skill. It helps you work better with data. Excel offers flexible ways to reorganize your tasks. You can use drag-and-drop or cut-and-insert methods. Whether you’re updating a to-do list, making a report, or restructuring datasets, Excel has you covered.