
Microsoft Excel is more than a number tool. It’s also great for making printable forms, invoices, dashboards, and data reports. These often include images. To print images in Excel, you need to know how to manage product photos, company logos, and visuals like charts and icons. Many users face issues where the image appears on the screen but doesn’t show up on the printed page. This guide shows you how to place and format your images. It also helps you print them just like they look in your Excel sheet.
What are Images in Excel?
In Excel, images refer to any graphical content inserted into a worksheet. These may include:
- Photographs (e.g., product photos or employee pictures)
- Logos (company branding or certification seals)
- Icons and illustrations (from external sources or Excel’s own icon library)
- Scanned documents (such as receipts or ID images)
- Screenshots or visual examples (used in reports or training sheets)
These images are typically inserted via:
- Insert > Pictures
- Insert > Icons or Shapes
- Copy-paste from other sources (web, PowerPoint, Word, etc.)
You can move, resize, layer, and format images in Excel just like other objects. They become part of your worksheet layout.
How to Print Images in Excel
Many users insert images but are surprised when they don’t appear in the printed file. This can happen due to incorrect settings, hidden images, or print area issues. Here’s how to make sure your images print correctly.
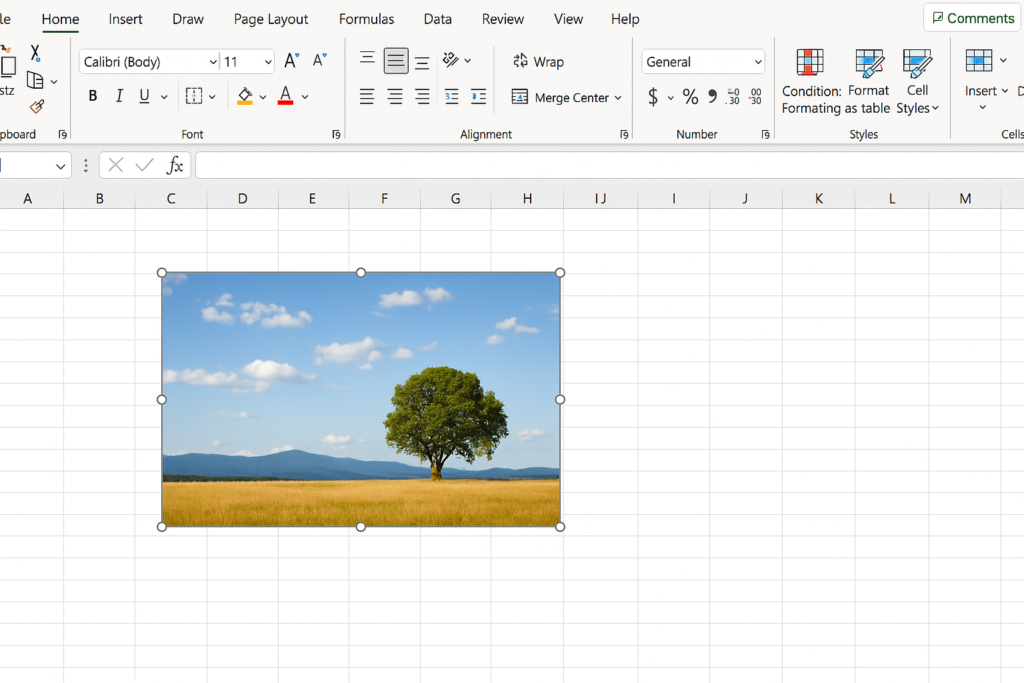
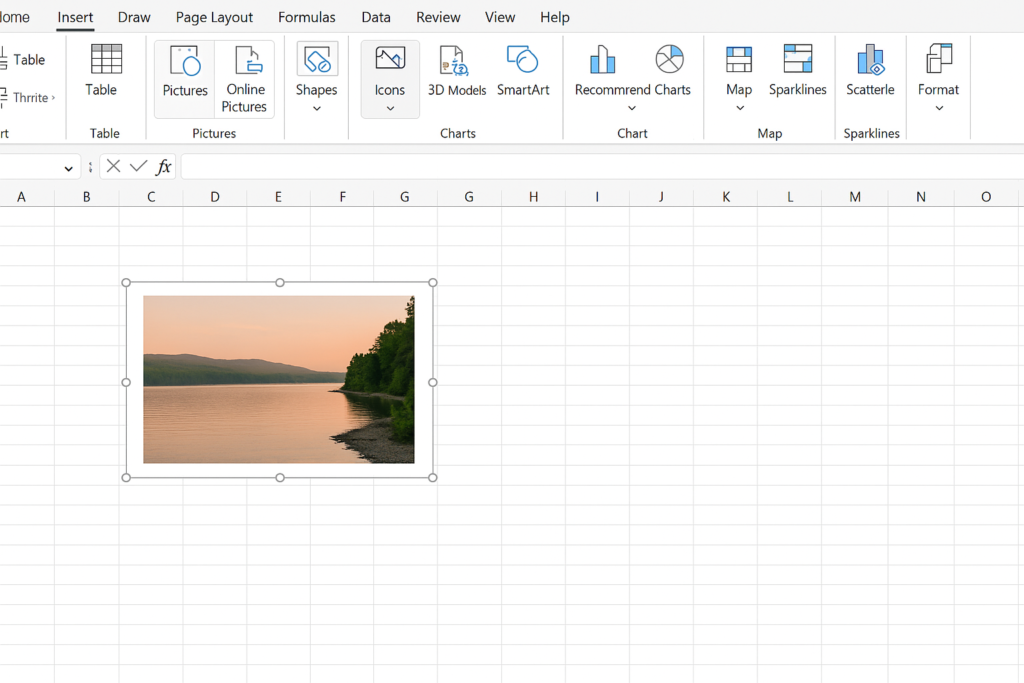
Step 1: Insert the Image Correctly
- Go to the Insert tab.
- Click Pictures > This Device (or Online Pictures if using cloud resources).
- Select and insert your image.
- Resize or reposition it as needed.
Make sure the image is placed within the printable area of your worksheet.
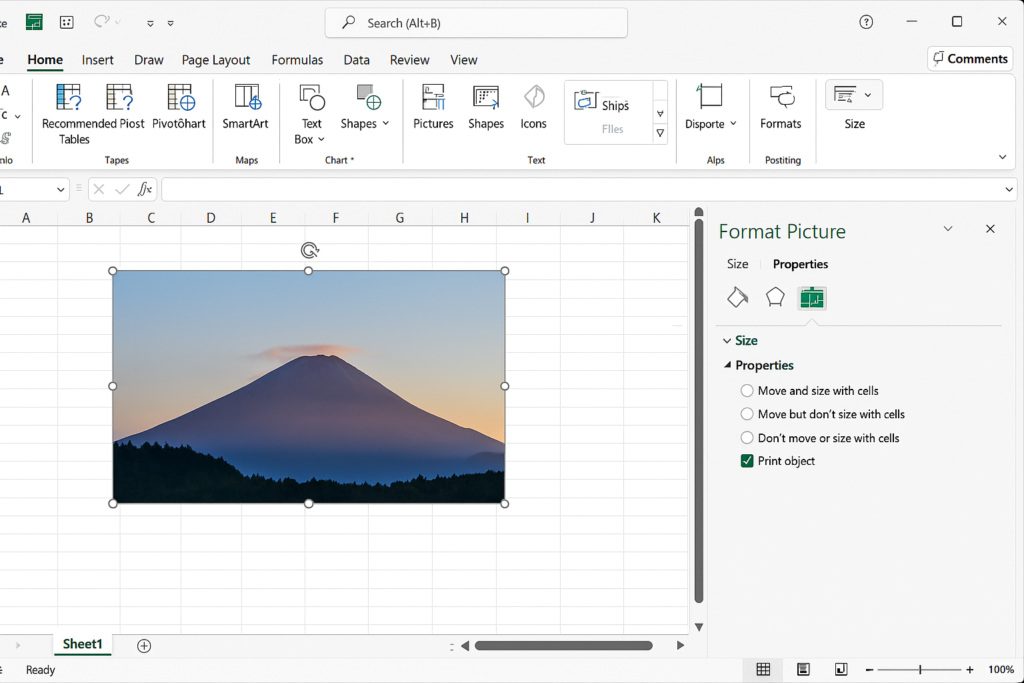
Step 2: Ensure Image Is Set to Print
Even if the image is visible, it may be configured not to print.
- Click on the image to select it.
- Right-click and choose Format Picture.
- Go to Size & Properties (in the Format Pane).
- Under Properties, ensure “Print object” is checked.
This setting ensures the image will be included during the printing process.
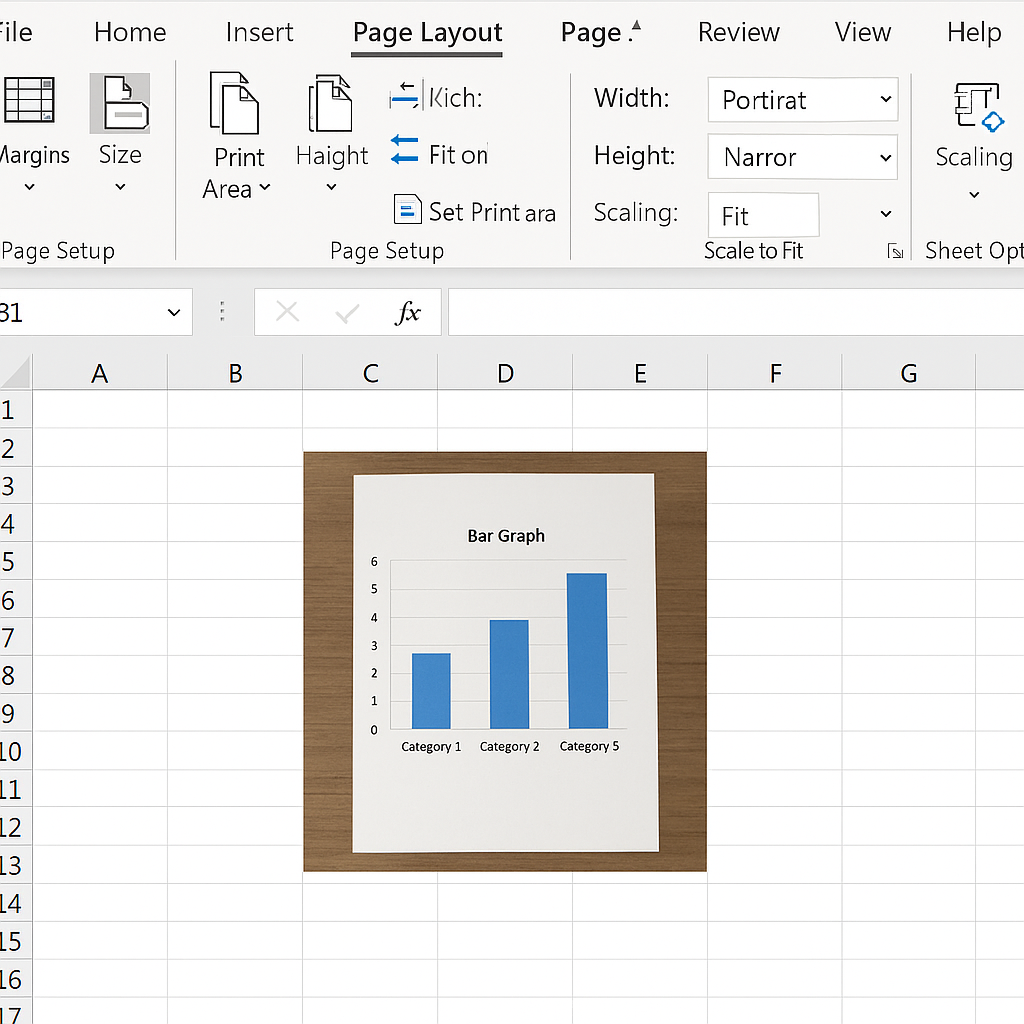
Step 3: Check Page Layout and Scaling
Sometimes the image gets cut off due to page size or scaling settings.
- Go to the Page Layout tab.
- Set orientation: Portrait or Landscape, depending on image layout.
- Adjust margins to Narrow or Custom for better fit.
- Under Scaling, choose Fit Sheet on One Page if needed.
- Use Print Area > Set Print Area to define which part of the sheet should be printed.
This guarantees your image falls within the printable zone.
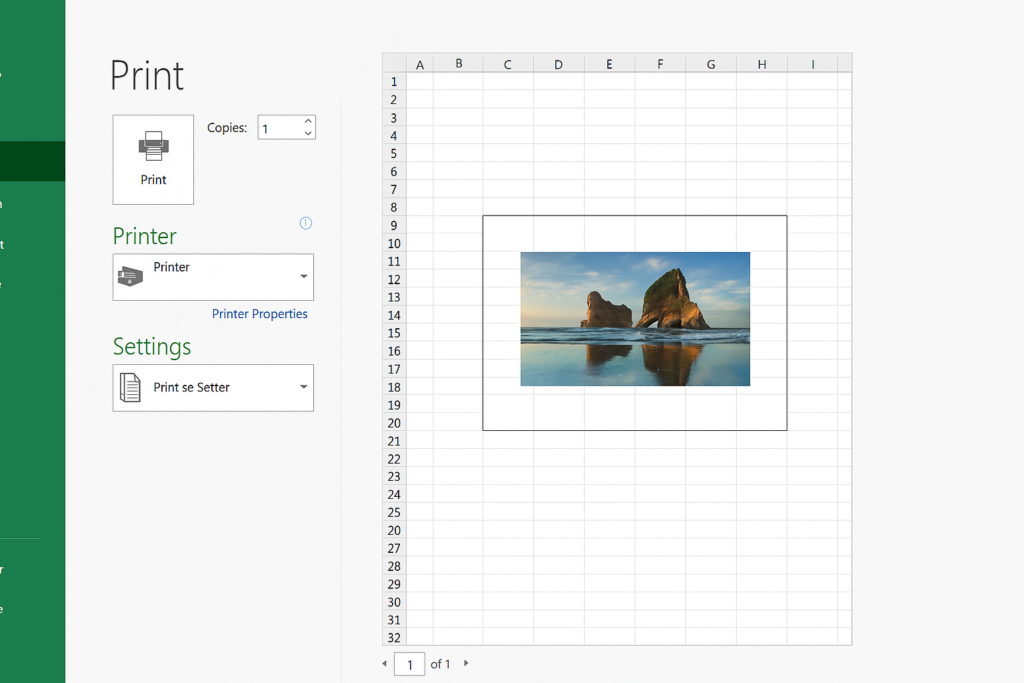
Step 4: Print the Document
Once previewed and confirmed:
- Select the correct printer.
- Choose the number of copies.
- Click Print.
If the image is part of a dynamic report, save the file as PDF (File > Save As > PDF) to preserve formatting.
Examples
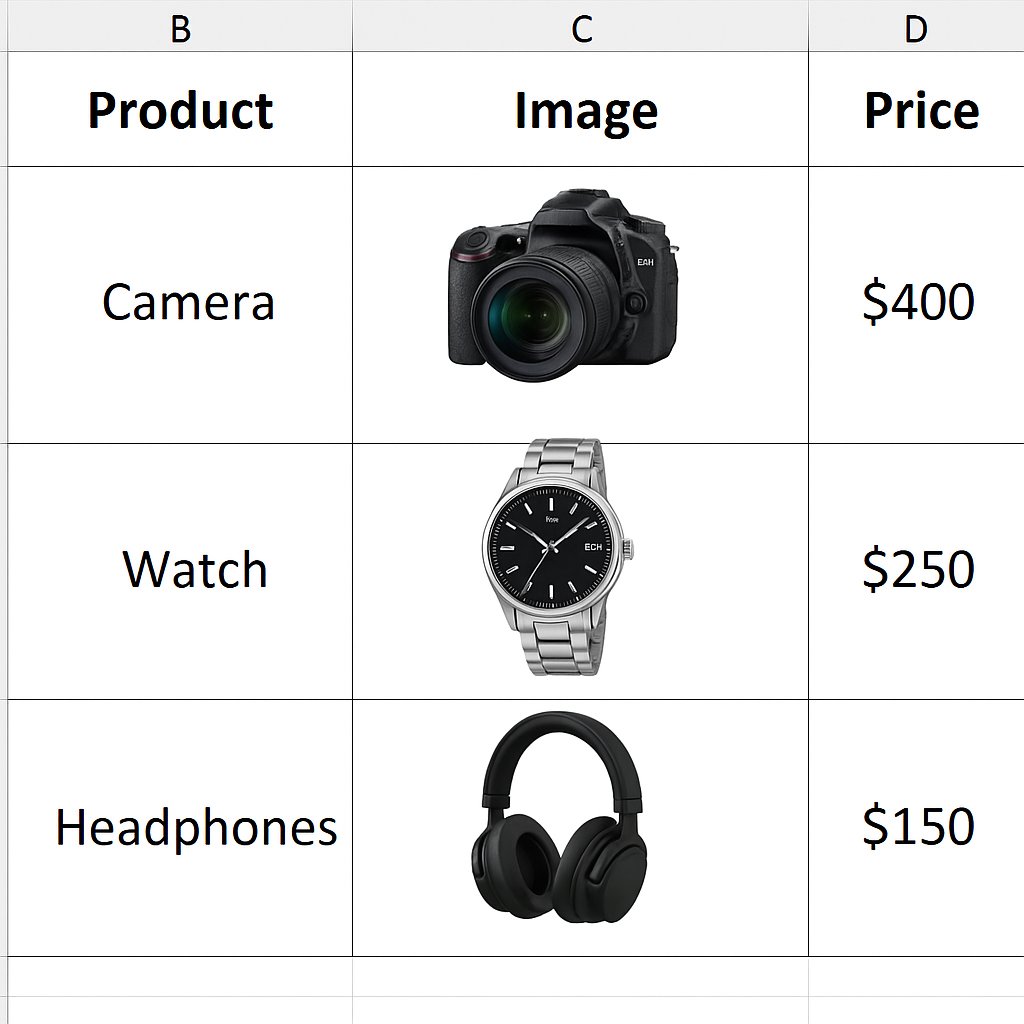
Example 1: Print Product Catalog with Images
A sales team creates a product list that includes images and pricing. Insert images into Column B and adjust the scaling. This creates a client-ready document that displays all products with their visuals.
Solution: Insert images in cells. Enable “Print object.” Set the print area and scaling. Then, use Print Preview to check the layout.
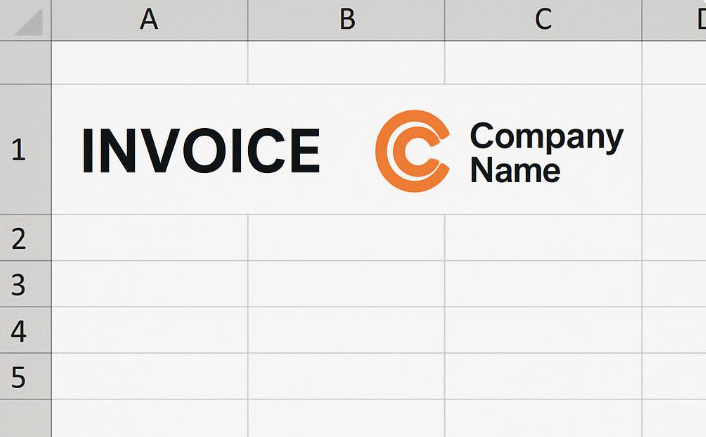
Example 2: Add and Print Company Logo on Invoice
An accountant includes the company logo at the top of every invoice. They want to ensure it prints properly in both paper and PDF versions.
Solution: Insert the logo in the header or cell, check print settings, and use Page Layout view for alignment.
Benefits of Printing Images in Excel
Enhances Professionalism
Printed Excel documents with images—logos, signatures, product visuals—look polished and well-designed. Visuals make your work stand out, whether you give a client a quote or submit a training manual. A plain document with just text and numbers can seem dull. But a document with branded visuals looks more professional and trustworthy.
Supports Better Understanding
Images, icons, and screenshots help readers grasp your content more easily. Instead of explaining a process with just words, a screenshot provides clarity instantly. This is especially helpful in manuals, sales catalogs, or educational content.
Simplifies Client Communication
Clients often prefer seeing what they’re buying. Adding images beside product specs or charts makes things clearer and helps people decide faster. In B2B settings, this can speed up approvals. It can also improve engagement during presentations.
Adds Branding to Documents
By adding logos or certification seals, businesses reinforce their branding. Printing Excel files with a visual identity helps build recognition and consistency. This applies to invoices, reports, and internal documents. It also creates a uniform experience across different formats—Excel, print, or PDF.
Increases Engagement in Presentations
Reports with graphs, icons, and illustrations are far more engaging than plain tables. Visuals add interest and emphasize important points. This helps people understand information better during meetings. When printed, these visuals continue to provide value in handouts or boardroom files.
How to enlarge an image to print on multiple pages using Microsoft Excel Tutorial
FAQ’s
Can i print image behind data like watermark?
Excel can’t use full watermarks like Word. However, you can add an image. Send it to the back and adjust its transparency. Go to Format Picture > Fill > Transparency to create a watermark effect.
How to fix image cut-off issue in print?
Check page margins, image size, and print scaling. Use Page Layout > Margins > Narrow and Scaling: Fit to One Page to reduce cutoff risk.
Can i print excel with images as a pdf?
Yes. Go to File > Save As or File > Export and select PDF. This preserves image placement and is ideal for sending professional reports.
Can i insert image into excel header for printing?
Yes. Go to Insert > Header & Footer, then select Picture. The image will appear in the printed header area across all pages.
Conclusion
Knowing how to print images in Excel is a useful skill. It helps your reports, forms, and presentations look just right. Images make your document pop. They can show your company logo, highlight products, or explain instructions with screenshots. Using pictures helps you communicate better.